
How to replace ball joints/front u-joints
#1
 12-23-2009, 11:05 PM

How to replace ball joints/front u-joints
Disclaimer: I learned this by working on my F250 with a Dana 50. I hear the procedure is similar for the Dana 44 and 60 but proceed cautiously and PM me with any differences and I can adjust as necessary. I just found a lack of information on this while I was trying to do it and thought I'd write something that people can search for more easily. Let me know any mistakes I've made while writing this and I can adjust it as necessary. Thanks.
Break loose lug nuts, jack front of truck up and put on jackstands. Make sure the truck DOES NOT MOVE AT ALL when it's up on the stands. This job is enough of a headache at times, you don't need trucks falling on you. Remove the lug nuts and tire.
Remove brakes.
Using a c-clamp, remove the pressure the brake pads exert on the rotor. Remove the 2 big 13/16" bolts holding the caliper bracket onto the knuckle. Remove the caliper assembly and tie it out of the way.
Remove hubs
For manual:
Remove screws on hub cap, remove cap. Now remove the big lock ring that goes around the hub.
Remove snap ring on end of axle shaft, remove hub body.
Break loose the first locknut with the appropriate locknut socket. Remove the washer in between the locknuts with a small screwdriver or pick. Now remove the adjustment nut.
For auto hubs:
Remove screws on hub cap, remove cap. Now remove the big lock ring that goes around the hub.
Remove the hub body. If you need to, put 2 screws back in it and work it out using them as handles.
Remove the small snap ring on the axle shaft. Remove the 3 washers behind it and keep those in order with a zip tie.
Use a pair of needle nose pliers and remove the cam assembly.
Remove the retaining pin that retains the wheel socket with a pick.
Now you can remove the wheel nut.
Now remove hub/rotor assembly
Grab the hub and get ready for it. It's heavy. Slide it off the spindle, catching the outer wheel bearing if it tries to jump out. Set this all aside. (I recommend replacing wheel bearings and oil seals at this point.)
Remove the spindle
Remove the nuts on the spindle that hold it to the knuckle. At this point, I put the wheel nut back on the spindle and used a 3 jaw puller against the axle shaft to press the spindle off using the nut to grab onto with the jaws of the puller. I don't know if this is the correct way to do it, but it worked for me.
When it breaks free, carefully remove the spindle, making sure the bearings don't fall out. Be sure to repack the needle bearings in there very carefully. Pack it very generously and if they looks bad, replace them.
Remove the axle shafts.
Driver's side:
Don't be shy. Just grab it at the u-joint with one hand and pull, guiding the longer end of the shaft out with your other hand. It'll slide right out. I recommend replacing the u-joint now if they are old or bind at all. I mean seriously, at this point you realize this is a lot of work, why do it all over again 10k miles down the road for 1 u-joint that only costs 25 bucks.
Passenger side:
Crawl under the truck and look at the passenger side axle shaft. You'll see a rubber boot close to the differential. Stick a screwdriver in the metal band holding the boot on and snap it off. Break the rubber boot loose. At this point, you can carefully guide this axle out too. I used hose clamps to replace the metal bands on the rubber boot, you can do as you like. Once again, replace the u-joints if they're old or sticky or make any sort of gritty noise.
Replace the oil seal on the stub of the axle shafts.
You can stop here if all you want to do is replace u-joints. Proceed if your intentions are ball joints.
Remove the knuckle
Remove the top ball joint castle nut after removing it's cotter pin. Remove the cotter pin from the tie rod end and remove its' castle nut. Remove the tie rod end WITHOUT using a pickle fork, unless you want to replace the tie rod also. It'll tear the boot. You can use a puller or a hammer and upside down castle nut to tap it off like I did. Tie the tie rod up out of the way.
Break loose the bottom ball joint's nut and loosen it almost all the way but not quite. It'll catch the knuckle when it breaks loose, instead of breaking your foot.
Turn the castle nut for the top ball joint upside down and screw it back on a few turns. Then, using a large sledge, hit it sharply. This should break it loose. Then remove the castle nut and the bottom nut and remove your knuckle.
At this point, you can either use a ball joint press (you'll need it anyways if you're going to be pressing in new u-joints) or you can simply pay a shop ~100 bucks to press out your old ones and press in the new ones). Reassembly is basically the reversal of installation. Make sure you use good bearing grease on everything. Don't pack the slip joint for the passenger side axle shaft or the hub body heavily with grease. A very light coat is more than enough. Use a torque wrench and make sure you torque everything to the proper specs. Clean the rotors up really good with brake cleaner before putting the calipers back on. Pump your brakes before you take off. If you have any questions, feel free to PM me and I'll get back to you asap.
Lube up the ball joints and tie rod ends before you move the truck AT ALL. You don't want to do all of this work only to wear out the parts in a few thousand miles.
I recommend using some pb blaster and cleaning up all your parts along the way. It's what I always do and things sure do go back together more easily when clean.
#3
01-30-2010, 08:32 PM
Elder User
Join Date: Feb 2007
Location: Madison Ohio
Posts: 690
Likes: 0
Received 0 Likes
on
0 Posts
Must be newer then a 91? as none of mine have been bolted on. Mine use a rubber and steel wedge looking thing that is driven in between the caliper and the Knuckle top and bottom??
#4
01-30-2010, 09:26 PM

Posting Guru
Join Date: Aug 2007
Location: Belle Mead NJ
Posts: 2,026
Likes: 0
Received 0 Likes
on
0 Posts
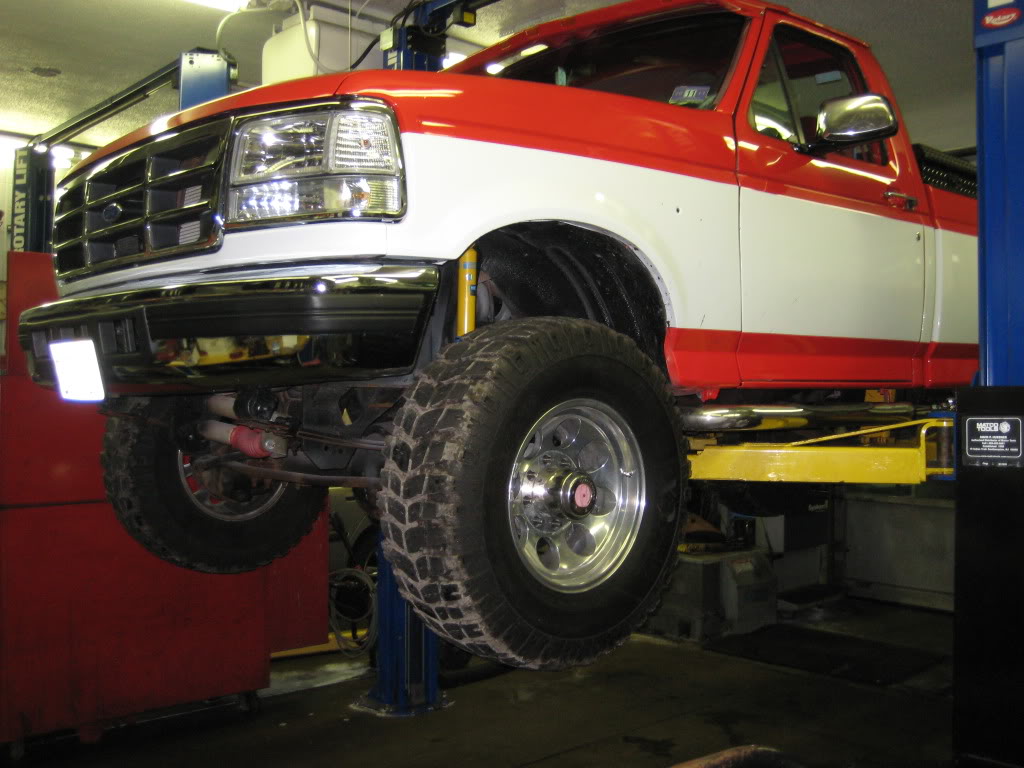
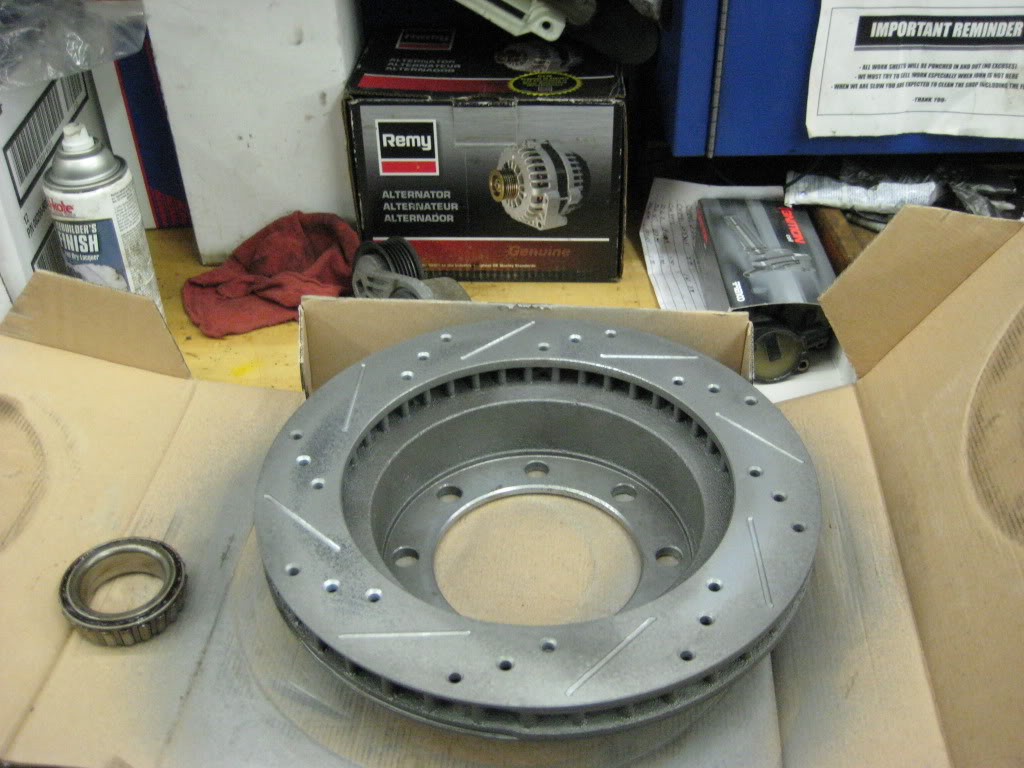
Ok so my rotors were warped on the truck, not very bad, but I wanted to get my self something for my bday and this was it. Got the kit off ebay and it looks to be good. Got 2 rotors and pads(didnt install, just did loaded calipers)
Anyway
Take the Hub Twist Cap off
On my style there was a phillips screw holdin the peice that connects the axle shaft to the hub, and the peice pops out with a giant spring. Never seen this before, never done a F350 hub before so I guess everthing is bigger.
Take the big clip out of the hub, then usin 2 of the cap screws pull the center peice out.
Now you can take the bearings out, using the special took losen the outer lock ring and take it out
Take the lock spacer out
Take the inner lock ring out and hold the rotor so it doesnt slide off and fall on you or the floor.
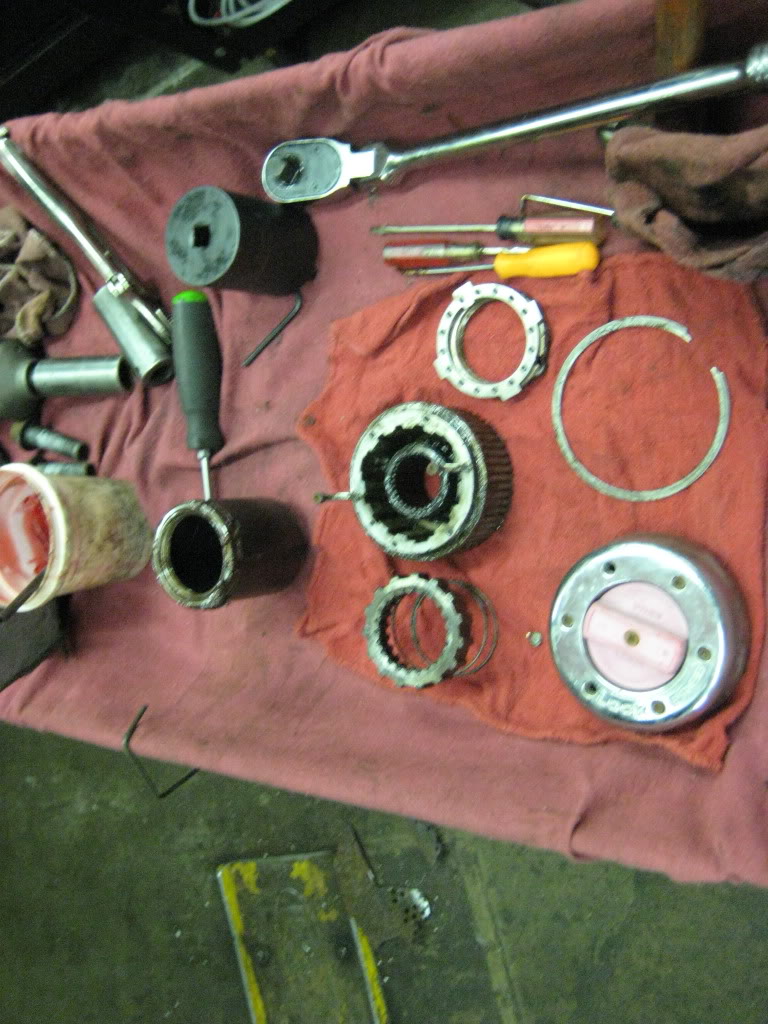
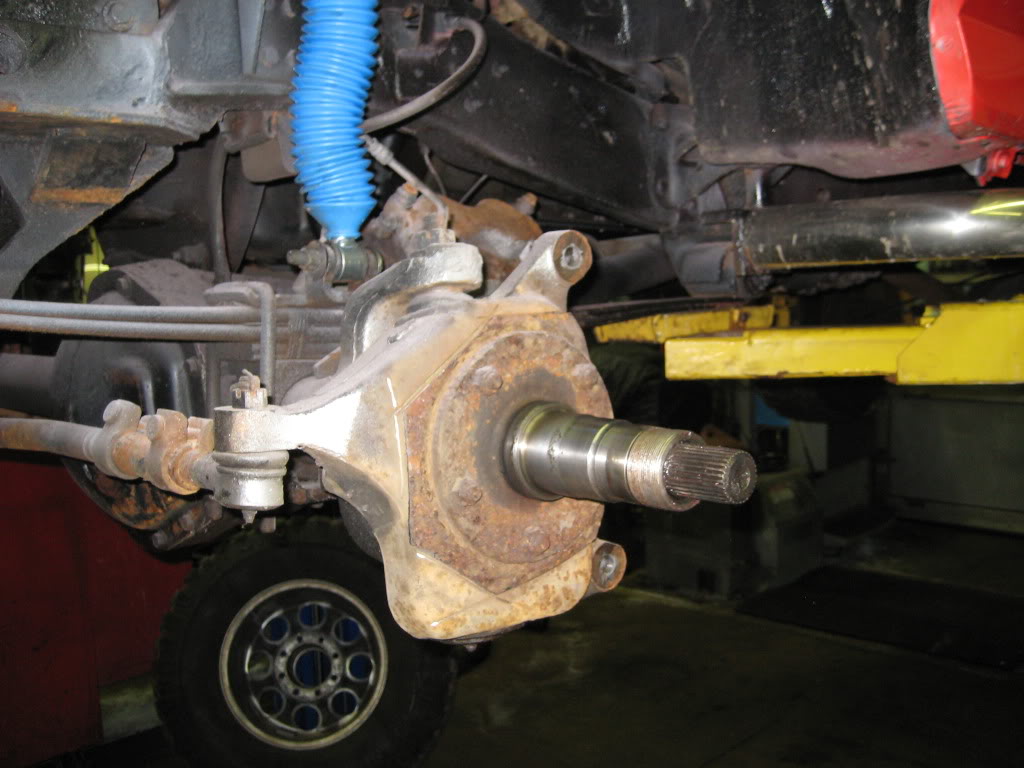
Slide hub asembly off the spindle
Gettin the rotor and hub seperated
Hammer the studs out of the hub and rotor asemble. I used a punch and hammer.
Then there is 2 spots you hammer a chisel in and seperate the hub from the rotor
If your goin to do bearings now is the time, pop the seal out, clean out the hub, and put in new bearings and races. I did this, and when I took the rotor off, 1/2 the grease seal was still on the spindle.
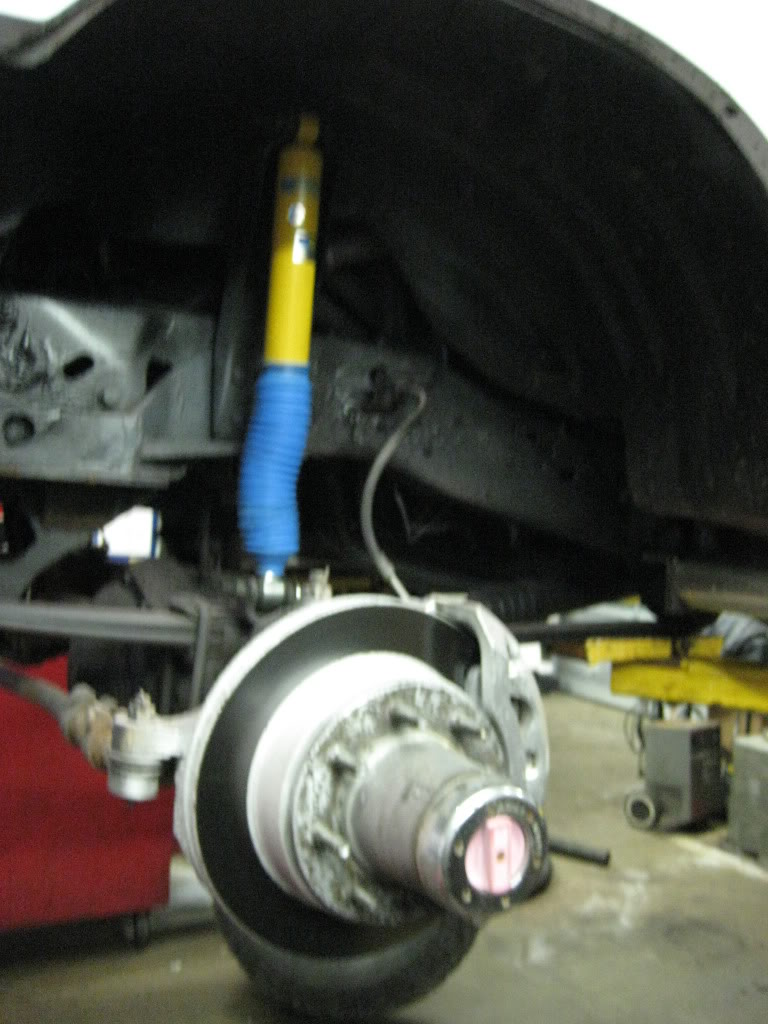
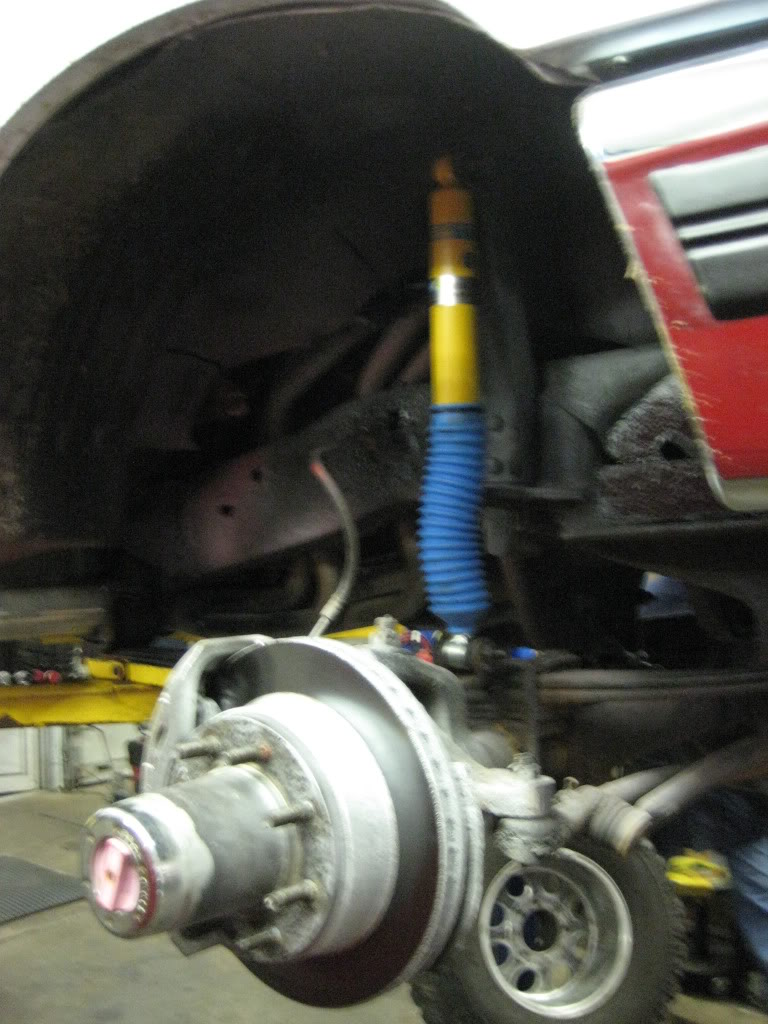
Install
I grease around where the rotor and hub meet, then put the rotor on top, and grease up the studs and hammer them back in, I have a tool that installs on the other side of the stud and you use the lug nut and impact to pull the studs through, works awesome.
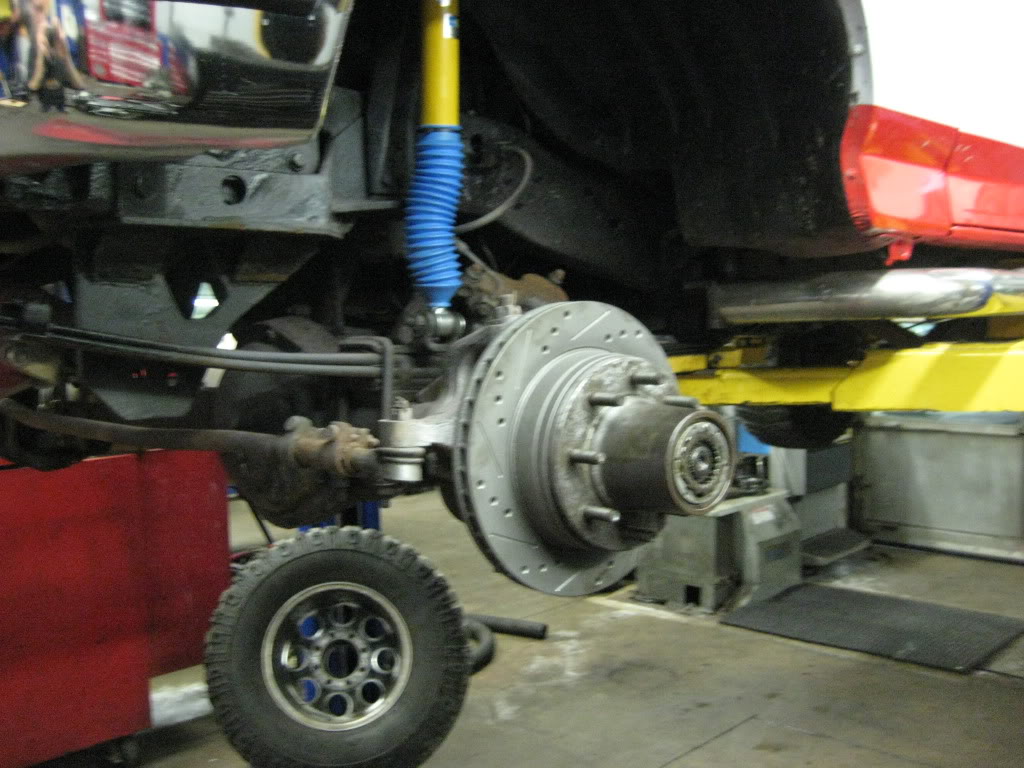
The rest is reverse of removal.
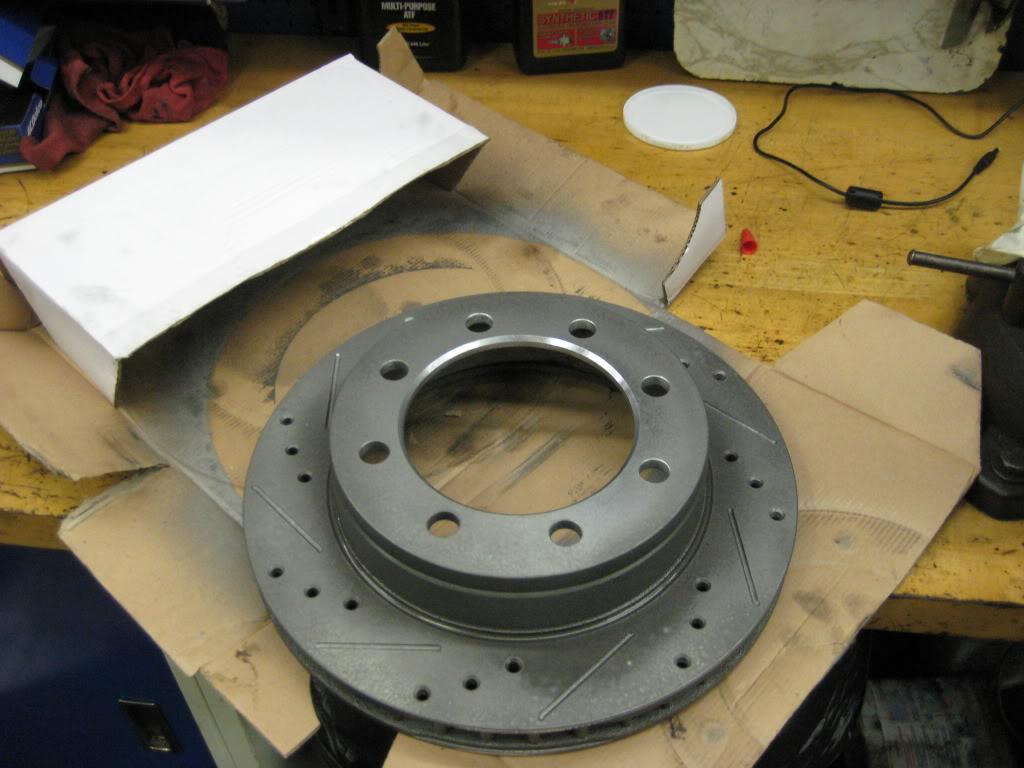
I spray paint the rotors front and back, inside and on top, I dont like to see rust, so this will help keep it nicer longer(plus looks better through my wheel)
Also wirebrushed the calipers and bridges and sprayed em up too.
PICS
Old
I had to cut backing plate off as it was so rotted out.

<!-- / message --><!-- sig -->__________________
Anyway
Take the Hub Twist Cap off
On my style there was a phillips screw holdin the peice that connects the axle shaft to the hub, and the peice pops out with a giant spring. Never seen this before, never done a F350 hub before so I guess everthing is bigger.
Take the big clip out of the hub, then usin 2 of the cap screws pull the center peice out.
Now you can take the bearings out, using the special took losen the outer lock ring and take it out
Take the lock spacer out
Take the inner lock ring out and hold the rotor so it doesnt slide off and fall on you or the floor.
Slide hub asembly off the spindle
Gettin the rotor and hub seperated
Hammer the studs out of the hub and rotor asemble. I used a punch and hammer.
Then there is 2 spots you hammer a chisel in and seperate the hub from the rotor
If your goin to do bearings now is the time, pop the seal out, clean out the hub, and put in new bearings and races. I did this, and when I took the rotor off, 1/2 the grease seal was still on the spindle.
Install
I grease around where the rotor and hub meet, then put the rotor on top, and grease up the studs and hammer them back in, I have a tool that installs on the other side of the stud and you use the lug nut and impact to pull the studs through, works awesome.
The rest is reverse of removal.
I spray paint the rotors front and back, inside and on top, I dont like to see rust, so this will help keep it nicer longer(plus looks better through my wheel)
Also wirebrushed the calipers and bridges and sprayed em up too.
PICS
Old
I had to cut backing plate off as it was so rotted out.
<!-- / message --><!-- sig -->__________________
#5
01-30-2010, 09:30 PM
Posting Guru
Join Date: Oct 2009
Location: Ohio
Posts: 1,431
Likes: 0
Received 0 Likes
on
0 Posts
#6
01-31-2010, 12:14 PM
My regret afterwards was that I didn't take pictures. I tried to detail it enough that it would be easy to follow. It took me about 8 hours to do it and it was my first time ever doing it. I was already pretty good at pulling the auto hubs apart since I had to 5 or 6 times before I did the ball joints. Replacing the u-joints only took about another hour with cleaning them up too. This was done on my 95; you may have to adjust directions as necessary but from what I've seen, it's mostly right for all of them.
#7
12-26-2010, 11:20 AM
Senior User
Join Date: Sep 2008
Location: Portage Des Sioux, Mo
Posts: 318
Likes: 0
Received 0 Likes
on
0 Posts
Before re-assembly, note position of adjuster sleeve for top ball joint. Tap adjuster sleeve up to loosen it, it will still be in knuckle. When you re-assemble put top balljoint nut on loose, make sure adjuster is still in same position. Tighten lower ball joint nut then thighten the top nut. If not done in this order you can actually pull lower ball joint apart if top ball joint is to low. Picked up an 84 F350 done wrong. Had to replace brand new ball joint.
Trending Topics
#8
12-26-2010, 11:37 AM
Before re-assembly, note position of adjuster sleeve for top ball joint. Tap adjuster sleeve up to loosen it, it will still be in knuckle. When you re-assemble put top balljoint nut on loose, make sure adjuster is still in same position. Tighten lower ball joint nut then thighten the top nut. If not done in this order you can actually pull lower ball joint apart if top ball joint is to low. Picked up an 84 F350 done wrong. Had to replace brand new ball joint.

#10
09-21-2011, 09:36 AM

#11
09-21-2011, 10:05 AM

#12
09-21-2011, 10:14 AM
#13
09-21-2011, 10:20 AM

#14
09-21-2011, 10:33 AM
#15
09-21-2011, 02:39 PM
Senior User
Join Date: May 2010
Location: Oregon
Posts: 288
Likes: 0
Received 0 Likes
on
0 Posts