429/460 48 Ford F1
#46
 05-09-2008, 07:01 AM

Senior User
Join Date: Nov 2007
Location: Denver, CO
Posts: 203
Likes: 0
Received 0 Likes
on
0 Posts
#47
05-09-2008, 01:35 PM
Join Date: Jan 2008
Location: Petaluma, CA
Posts: 173
Likes: 0
Received 0 Likes
on
0 Posts
Retro
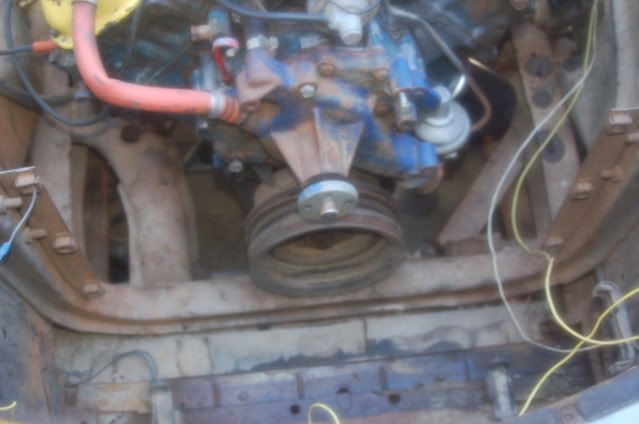
The old radiator was placed in front of the radiator frame, closer to the front grill, because it came from the car that the donor engine came from. With the new motor mounts the engine should sit father back than the old one, thought I will need to get new alternator brackets to relocate the alternator up higher, to near the side of the passenger cylinder head. The guy who had mounted the engine before had it in at a 9 degree angle due to the front cross member being too close to the crank pulley. I'll post some pictures below to show you what I mean.
Down the road, after the engine install, I plan running a stocklike setup, from
Aluminum Radiators, Cooling Accessories, SPAL Fans & Brakes : Hot Rod and Street Rod : PERFORMANCE ROD & CUSTOM who custom make radiators for this set up, so it will be like the original, fit in the original space but billet looking, with an electric fan setup and shroud. My friends swear by these guys, they sometimes have a hard time getting their rods hot enough!. The radiator is 475(with built in transmission cooler) 100 for the shroud, and 150 for the fan setup. So I figure, as the hotrod progresses and funds free up I'll convert over. But in the meantime the old wide radiator works, and fits between the grill and old fan frame.
#48
05-09-2008, 08:46 PM
Senior User
Join Date: Nov 2007
Location: Denver, CO
Posts: 203
Likes: 0
Received 0 Likes
on
0 Posts
Thanks, got it.. I will have to do the same thing as yours is right now. My motor mounts set the engine higher in the frame and more forward. The trans will clear the cab at just about 3/4 ". I have looked all over for a power steering bracket that fits this engine and can't find one anywhere. I found an alt. bracket that puts the alt. just under the pass. head and fits nice. I got a good look at the mount for the rad and I thank you for the pics.
I will keep in touch as build progresses. By the way, sounds good what you are doing with your choice of rad and fan setup. Good going.
I will keep in touch as build progresses. By the way, sounds good what you are doing with your choice of rad and fan setup. Good going.
#49
05-10-2008, 02:42 AM
Join Date: Jan 2008
Location: Petaluma, CA
Posts: 173
Likes: 0
Received 0 Likes
on
0 Posts
Dennis,
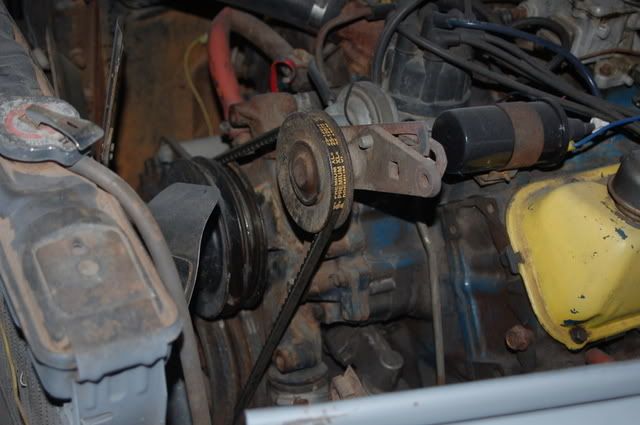
where did you get the alternator mounts? I've only found a pricey set from March Preformance. I'm also looking for billet pulley set up for a alternator, crank and water pump set, all running on one belt. They are hard to find for the 429's and very pricey. Most either over power the water pump, or underpower the alternator. I'd love to find a stock diameter set!
where did you get the alternator mounts? I've only found a pricey set from March Preformance. I'm also looking for billet pulley set up for a alternator, crank and water pump set, all running on one belt. They are hard to find for the 429's and very pricey. Most either over power the water pump, or underpower the alternator. I'd love to find a stock diameter set!
#50
05-14-2008, 12:53 AM
Join Date: Jan 2008
Location: Petaluma, CA
Posts: 173
Likes: 0
Received 0 Likes
on
0 Posts
#51
05-14-2008, 07:43 AM
When the PRO put my Cleveland/FMX in my 52, we had to mount it quite high for the oilpump to clear the crossmember of the Camaro-type front graft,that was ALSO kickked up 2 inches.....as far as the TRANNY clearance.....the main problem was actually JUST at the bellhousing. We extended the trans cover in the floor and opened up the top of the opening and there was PLENTY of room! my trans Xmember is a double tubular style......and Leonardo DaVinci who did most of my work curved the upper tube to fit INSIDE the slight rise for the seat front-raiser which allowed the tube to go OVER the tail of the rear housing of the trans....DAMN work of art!!!sorry...no pix........its in Oz.....Im in Japan......til September anyway!
#52
06-03-2008, 11:38 AM
Join Date: Jan 2008
Location: Petaluma, CA
Posts: 173
Likes: 0
Received 0 Likes
on
0 Posts
On my truck, I had thought I'd figured out my latch problem, but once again I'm stimied! This is a picture of the hood secondary latch from the inside. the handle flops back away from the front opening on the truck hood, where it should some how stay connected to the release latch above it.
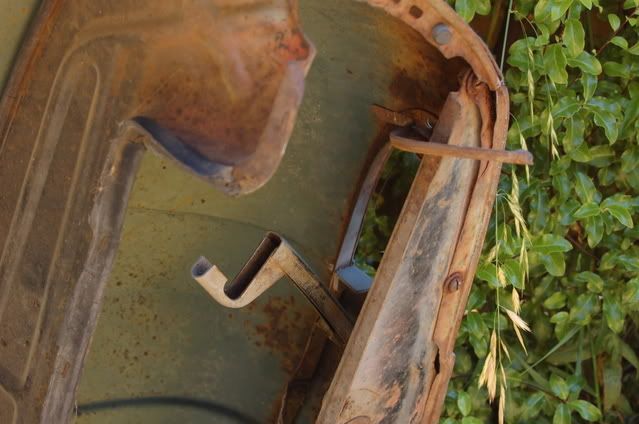
Here are a few shots from the outside looking at the handle and showing it in the first photo how it should always sit, and in the second photo the problem that I'm having a difficult time putting to words!

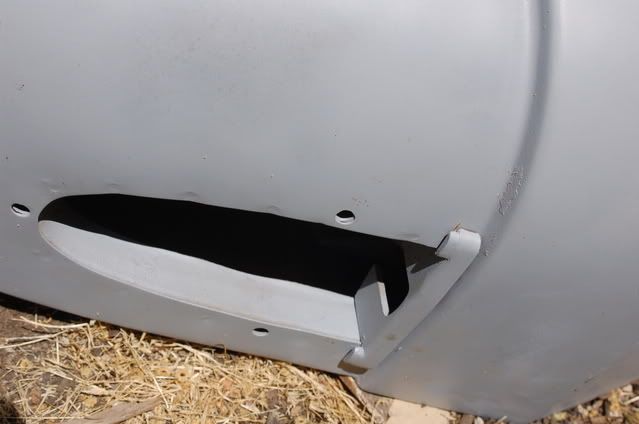
The handle works as a functional part of the finished trim, matching the dummy handle on the other side of the hood. I looked at another truck in the dark, and didn't see any additional springs, so all I can think of is there is some broken off metal on the curve of the handle that keeps it tucked around the release lever! If anyone has a photo from their truck, I'd love to see it so I can fix this problem. Thanks, Steve.
Here are a few shots from the outside looking at the handle and showing it in the first photo how it should always sit, and in the second photo the problem that I'm having a difficult time putting to words!
The handle works as a functional part of the finished trim, matching the dummy handle on the other side of the hood. I looked at another truck in the dark, and didn't see any additional springs, so all I can think of is there is some broken off metal on the curve of the handle that keeps it tucked around the release lever! If anyone has a photo from their truck, I'd love to see it so I can fix this problem. Thanks, Steve.
#53
06-03-2008, 11:46 AM
Join Date: Jan 2008
Location: Petaluma, CA
Posts: 173
Likes: 0
Received 0 Likes
on
0 Posts
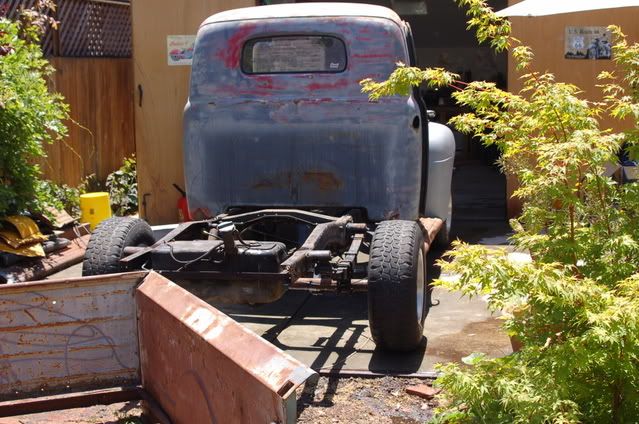
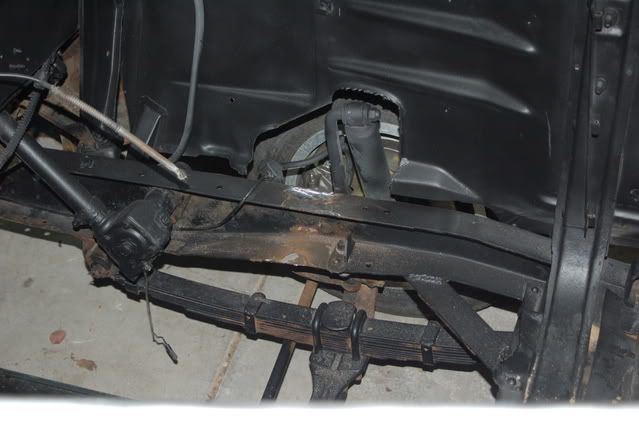
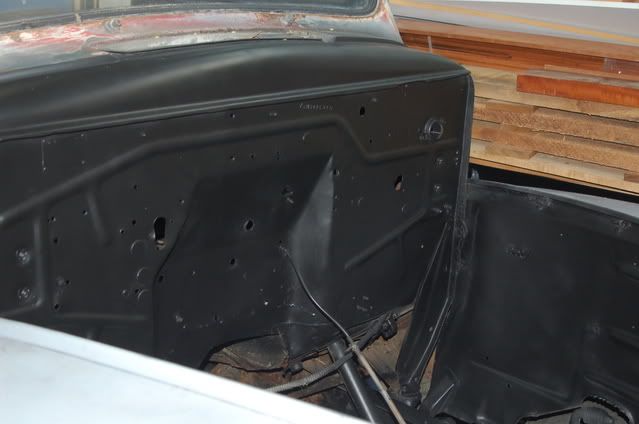
I also got the engine compartment cleaned out. Bought a Hobart 140 Mig welder, so now I just need to learn to weld! The old motor mounts have been cut out and the new mounts with crossmember will be put in when I get the rebuilt engine! So for now I'm working the frame and body. Here is a shot of the bed removed and also of the engine bay.
#55
06-03-2008, 08:47 PM
Senior User
Join Date: Nov 2007
Location: Denver, CO
Posts: 203
Likes: 0
Received 0 Likes
on
0 Posts
Good start Steve. I boxed the engine bay and part of the middle frame to handle the 429. I would suggest it also. I also added a crossmember fmade rom 2 inch angle iron under the cab to help the stabilization of the middle of the frame (side to side) movement just for safty sake.
I have a buddy that can help with the hood latch problem if no one else has one.
Dennis
I have a buddy that can help with the hood latch problem if no one else has one.
Dennis
#56
06-03-2008, 08:55 PM
Join Date: Jan 2008
Location: Petaluma, CA
Posts: 173
Likes: 0
Received 0 Likes
on
0 Posts
I actually have a new crossmember with the motor mounts on it for the 429, that was made specifically for this truck, from CPP and inexpensive too! I also got their transmission crossmember mount as well! So that should stiffen it up a bit. I might add something to the rear too, As far as the top compartment, I'm not sure if I need anything?
Do you guys have any idea about the latch mechanism for the hood, posted above. This one is just evading me. A picture would be great, shot from under the hood at the hood release lever. Thanks, Steve.
Do you guys have any idea about the latch mechanism for the hood, posted above. This one is just evading me. A picture would be great, shot from under the hood at the hood release lever. Thanks, Steve.

#58
08-07-2008, 01:01 PM
Join Date: Jan 2008
Location: Petaluma, CA
Posts: 173
Likes: 0
Received 0 Likes
on
0 Posts
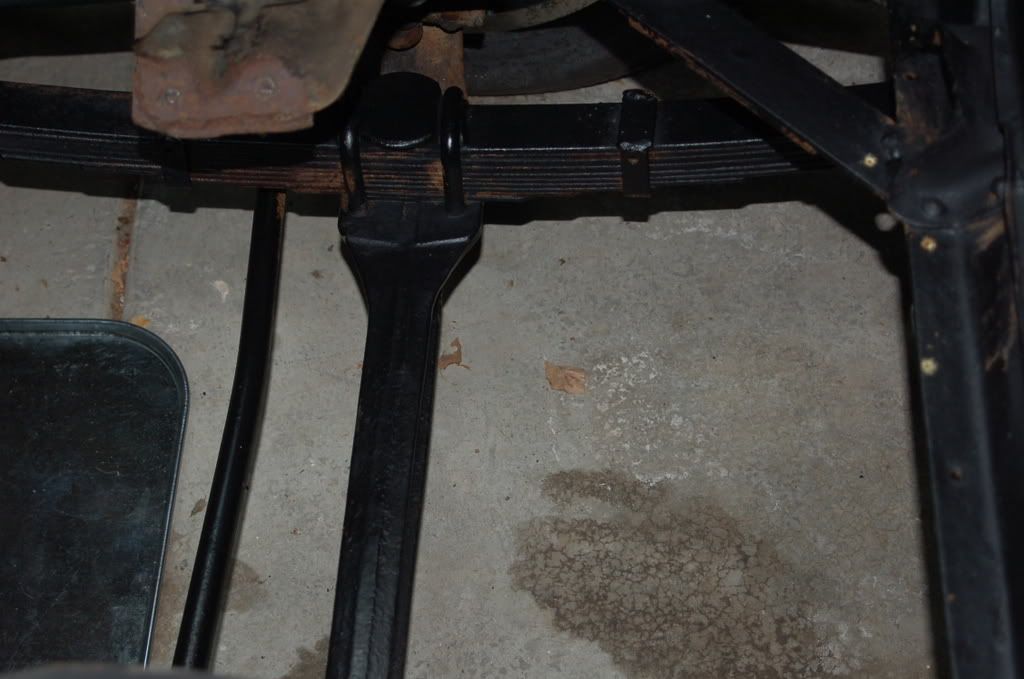
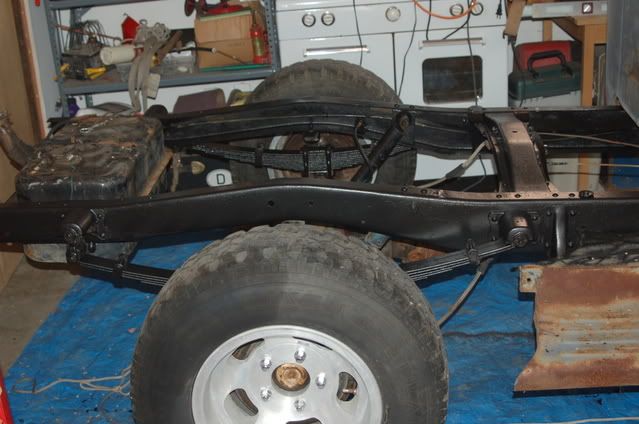
Been awhile since I updated this thread. I've taken off the front grill, and got another used one on Ebay that will work nicely. I'm currently stripping the paint off the cab, and finally buying the 9" rear end to replace the stock one. I was wondering what any of you did to adjust for the diameter of the new rear axle where it bolts to the leaf springs?
Here are a few updayed photos.
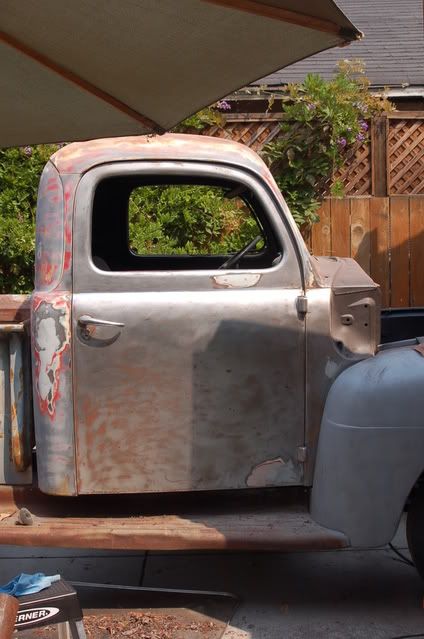
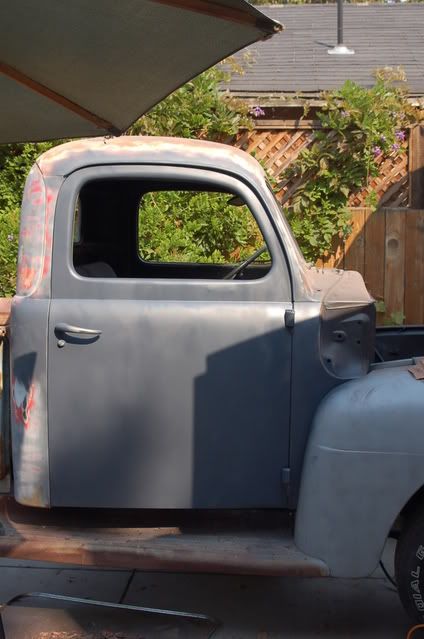

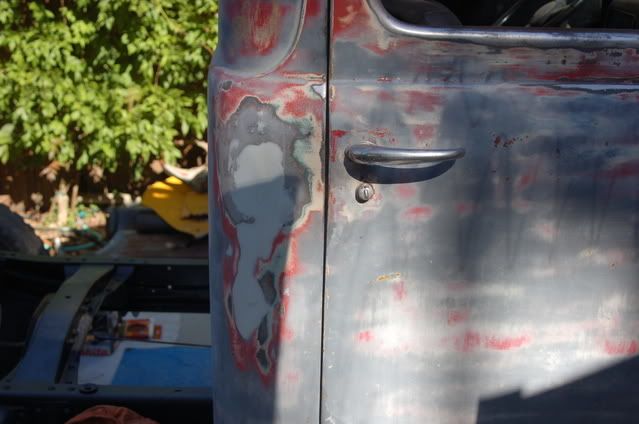
Here are a few updayed photos.
#60
08-07-2008, 07:46 PM
Join Date: Jan 2008
Location: Petaluma, CA
Posts: 173
Likes: 0
Received 0 Likes
on
0 Posts
