'48 F1 Resto-Mod
#1
 10-24-2013, 06:08 AM

Join Date: Oct 2013
Location: Antioch, CA
Posts: 70
Likes: 0
Received 0 Likes
on
0 Posts
'48 F1 Resto-Mod
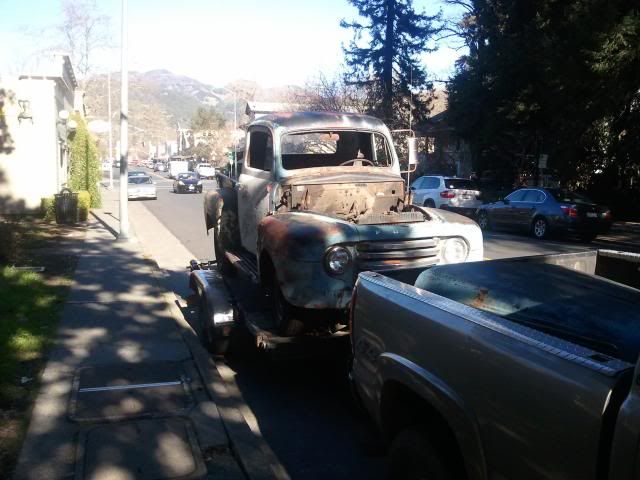
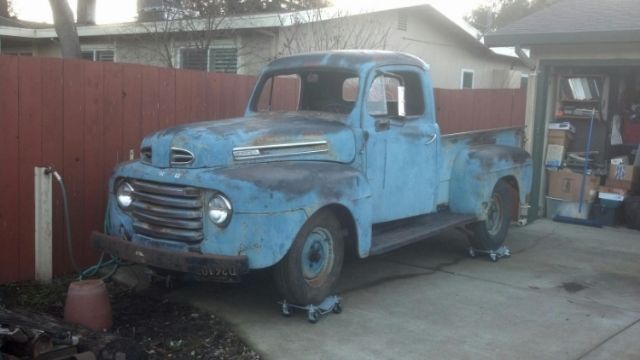
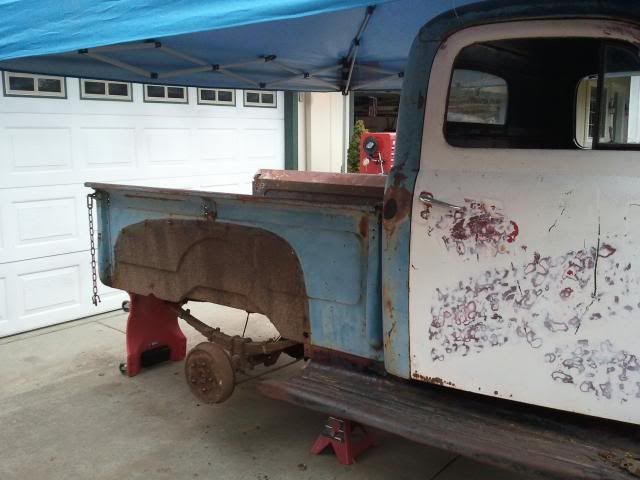
This is my first Ford vehicle and the plan is to RESTOre and MODify it a bit.
My Dad and I picked it up for $650.
It was pretty complete, except no interior, door glass and a few other odds and ends.
Had a Pontiac or Buick motor swapped in at some point, we scrapped that and are going with a Chevy 350/TH350 combo
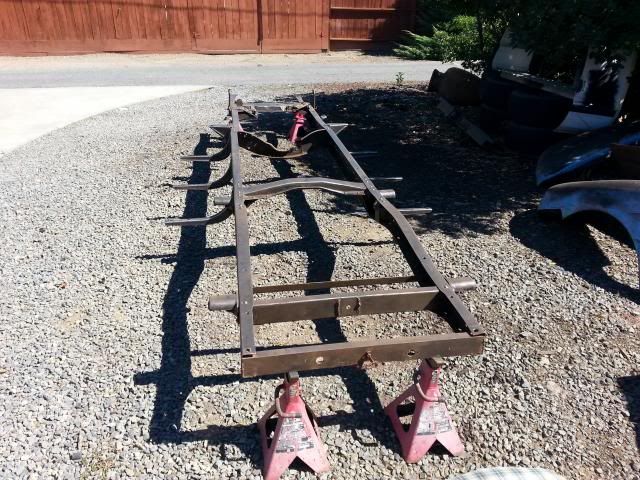
Teardown:
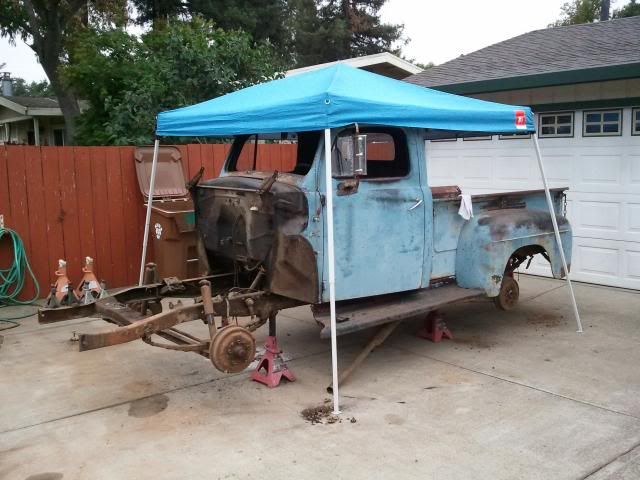

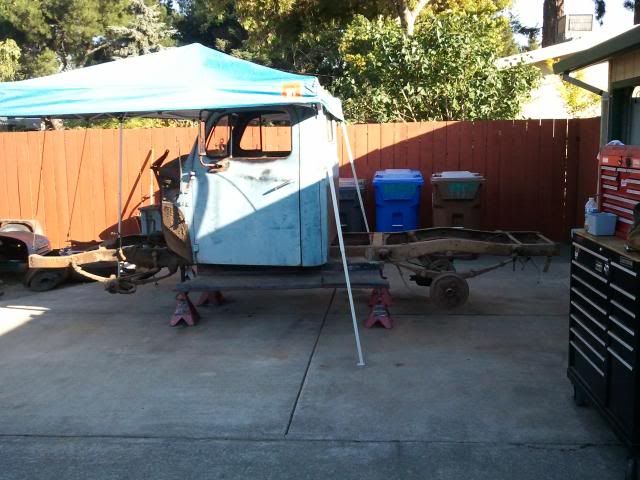
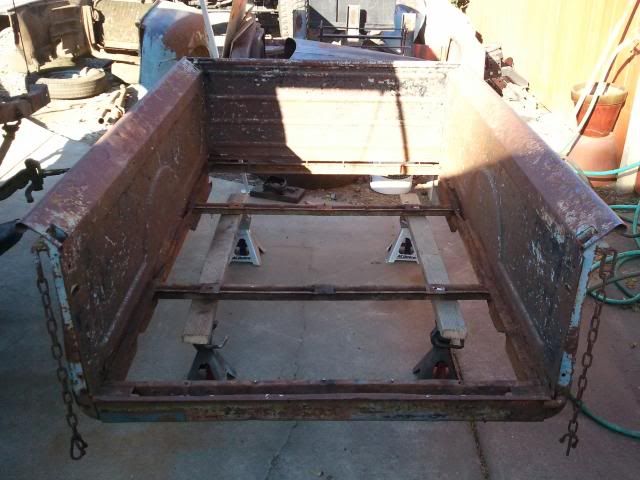
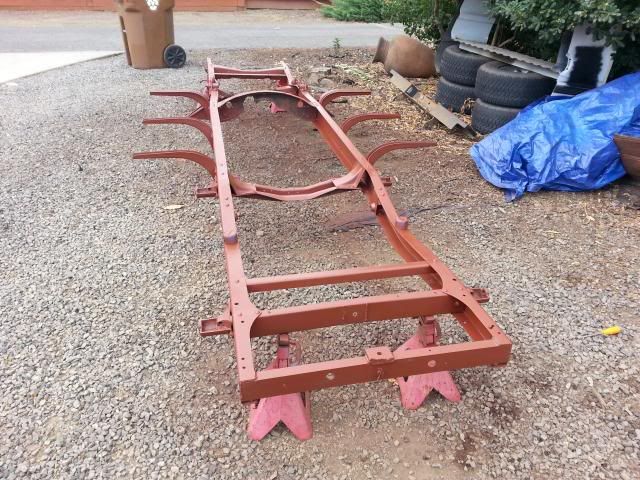
Cleaning:
The cab had a couple stress cracks that I patched up, but all in all it's a fairly solid platform to start with.
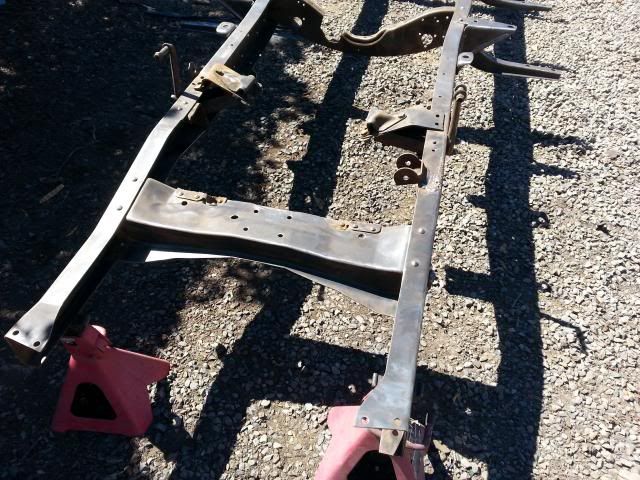
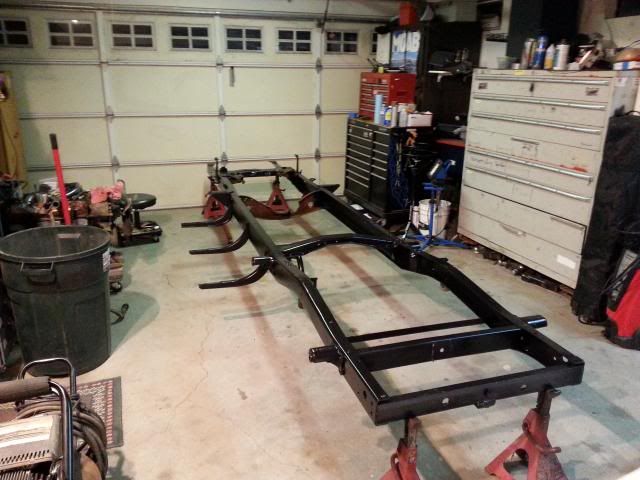
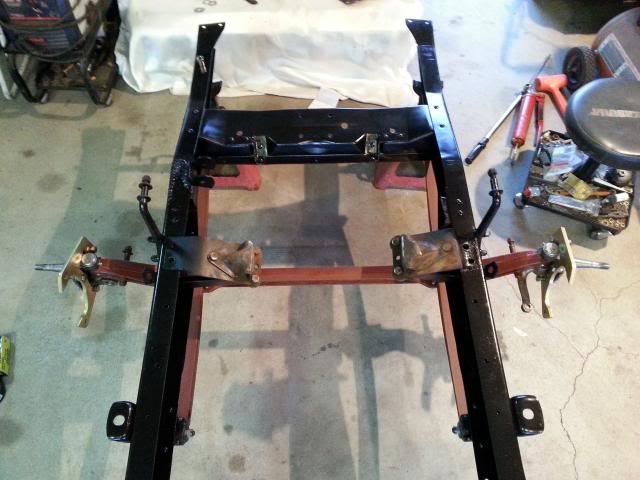
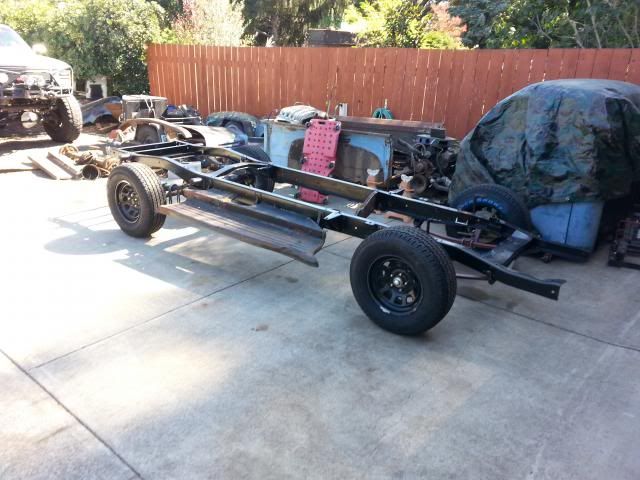
All things considered, the frame was in excellent shape for its age.

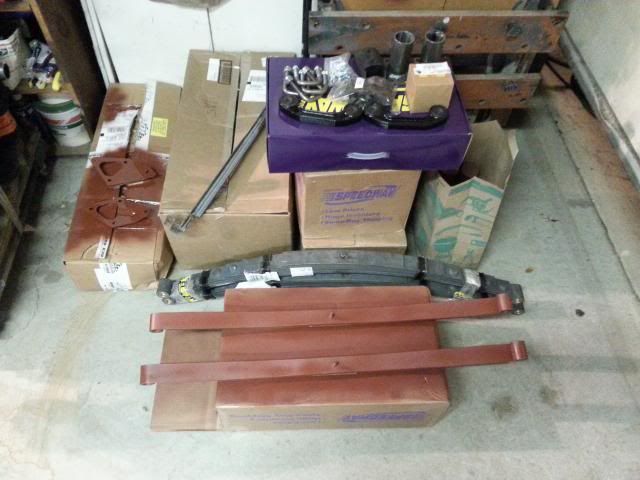
Parts:
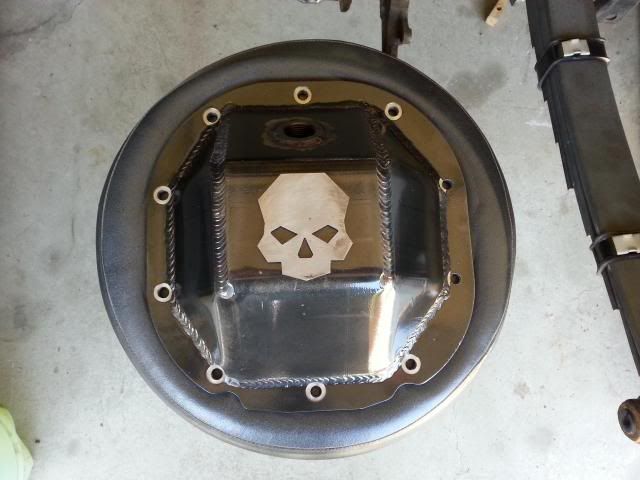
This is the Ballistic Fab diff cover for the rear 8.8, I cleaned it up and clear coated it
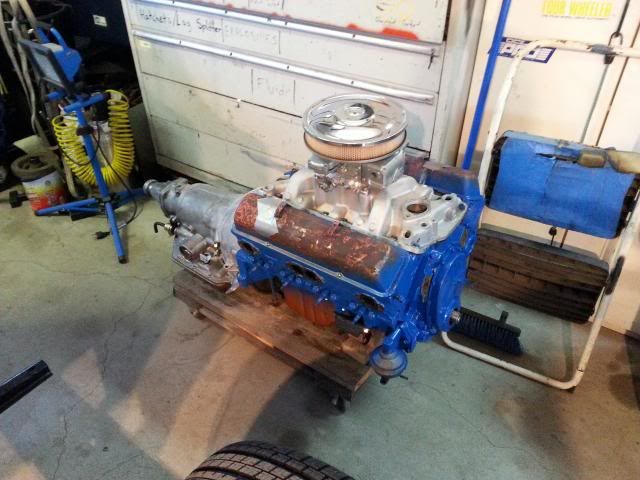
Rebuilt TH350 3 speed automatic transmission

Ford blue, Chevy 350 motor
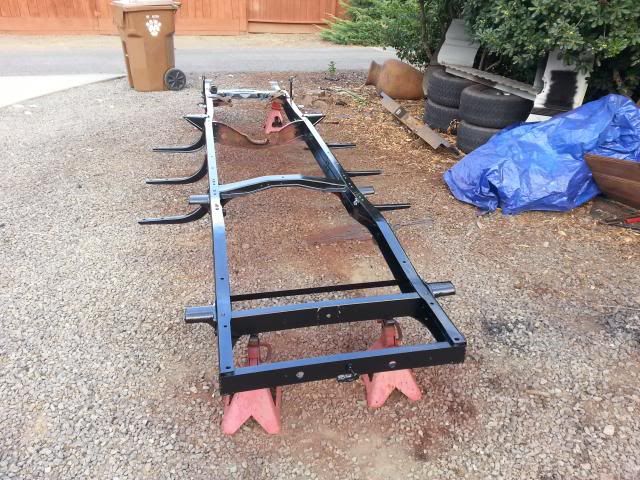
Assembly:
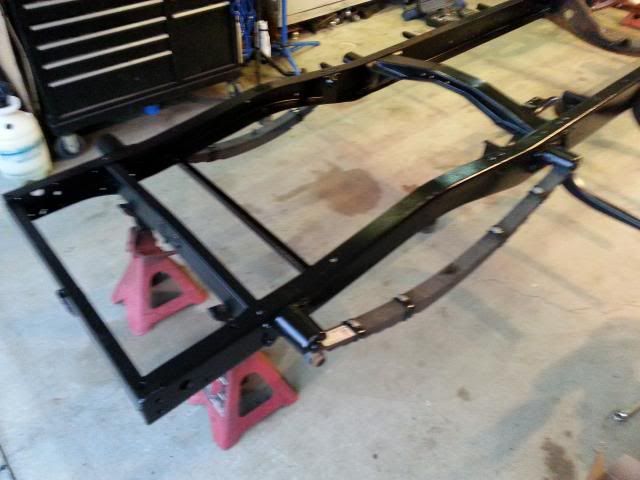
3" lowering springs all around
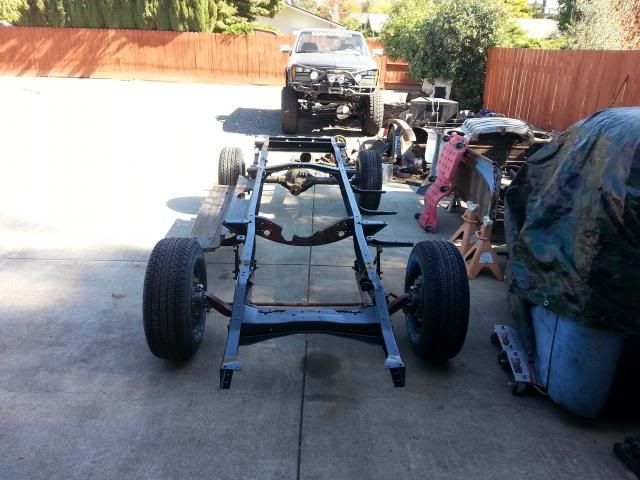
scored 5 of these wheels off Craigslist for $100

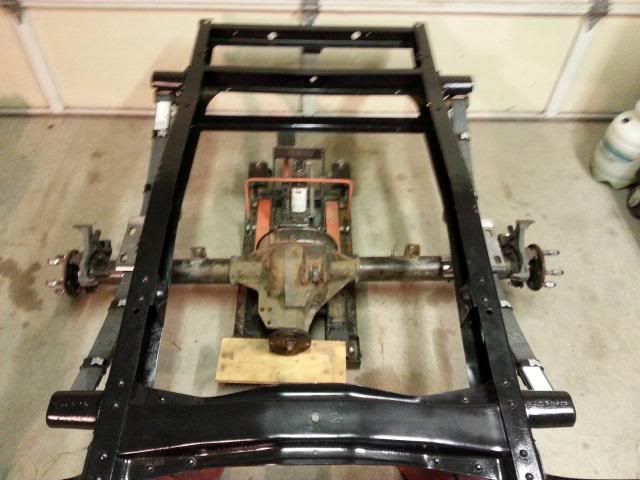
Rear axle is out of a mid 90s Explorer, 4.10s, limited slip, and disc brakes
Using Ruff Stuff Specialties narrow perches and spring plates for the swap
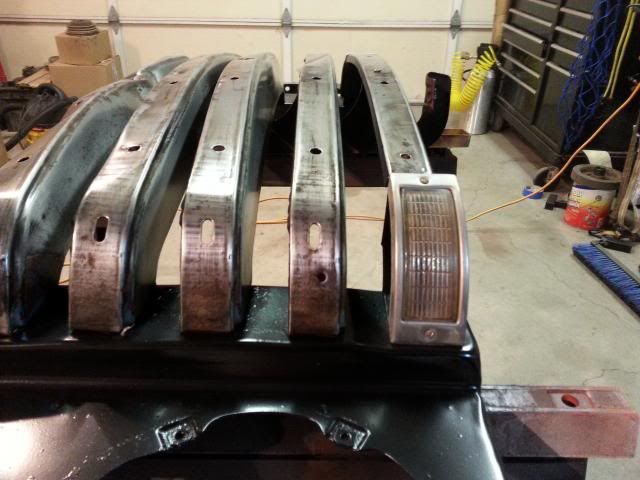
grill rehab


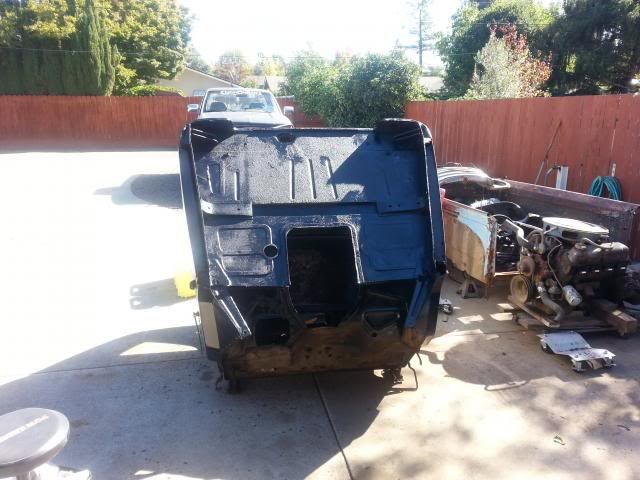
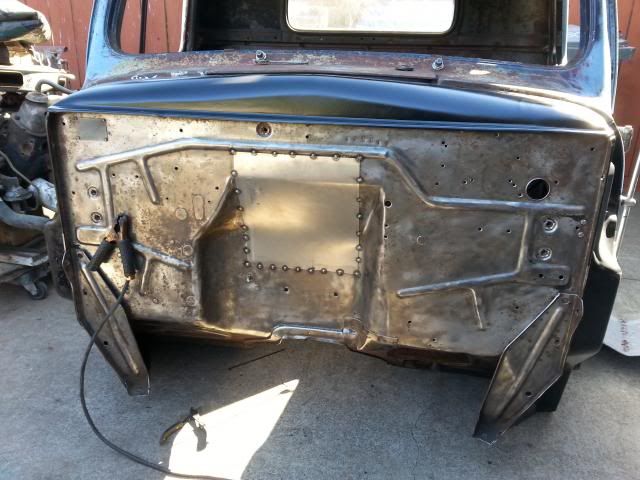
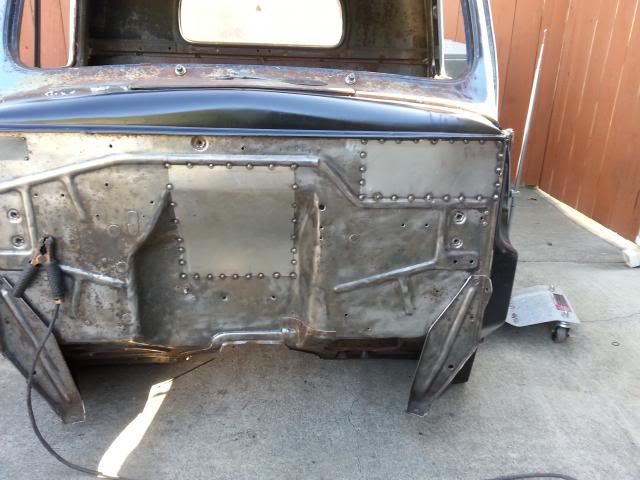
I'm going with a ratrod theme with this build so for the firewall I patched some random holes "rat" style then clear coated over the entire thing.
Gives it a kind of industrial look.
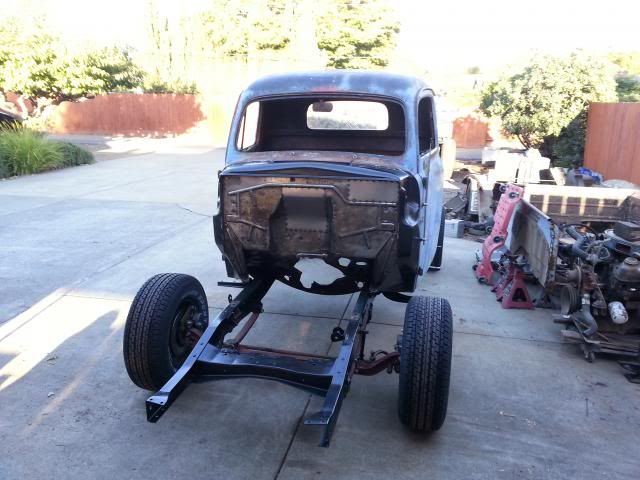
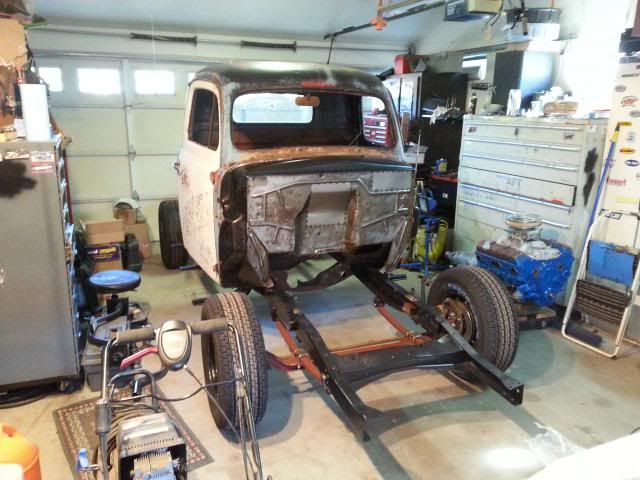
This is how it's currently sitting, work is limited to weekends at the moment so it feels a little slow going but progress is progress

My Dad and I picked it up for $650.
It was pretty complete, except no interior, door glass and a few other odds and ends.
Had a Pontiac or Buick motor swapped in at some point, we scrapped that and are going with a Chevy 350/TH350 combo
Teardown:
Cleaning:
The cab had a couple stress cracks that I patched up, but all in all it's a fairly solid platform to start with.
All things considered, the frame was in excellent shape for its age.
Parts:
This is the Ballistic Fab diff cover for the rear 8.8, I cleaned it up and clear coated it
Rebuilt TH350 3 speed automatic transmission
Ford blue, Chevy 350 motor
Assembly:
3" lowering springs all around
scored 5 of these wheels off Craigslist for $100
Rear axle is out of a mid 90s Explorer, 4.10s, limited slip, and disc brakes
Using Ruff Stuff Specialties narrow perches and spring plates for the swap
grill rehab
I'm going with a ratrod theme with this build so for the firewall I patched some random holes "rat" style then clear coated over the entire thing.
Gives it a kind of industrial look.
This is how it's currently sitting, work is limited to weekends at the moment so it feels a little slow going but progress is progress

#4
10-24-2013, 06:33 AM
#6
10-24-2013, 09:54 AM


#7
10-24-2013, 02:27 PM
Join Date: Oct 2013
Location: Antioch, CA
Posts: 70
Likes: 0
Received 0 Likes
on
0 Posts
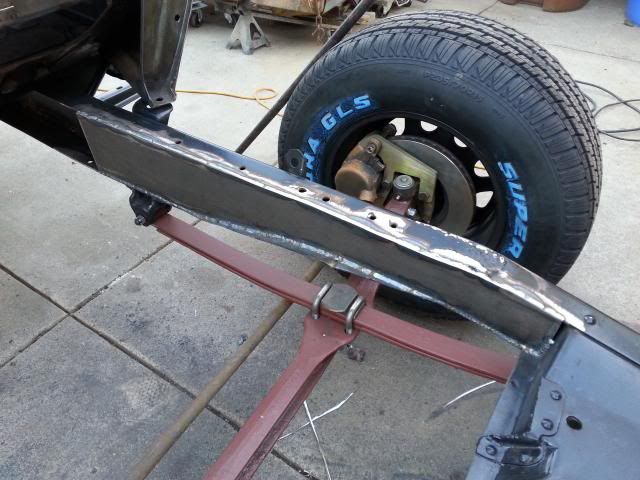
I was debating whether to go with the mono leafs or multi leafs and decided on the multi I guess because I wanted more adjustability in height.
I feel like the rear is a little tall still but I can always pull a leaf or two later on.
Trending Topics
#9
10-25-2013, 10:09 AM

SPONSOR
Join Date: Jul 2011
Location: Michigan
Posts: 543
Likes: 0
Received 0 Likes
on
0 Posts
#10
11-03-2013, 01:55 PM
Join Date: Oct 2013
Location: Antioch, CA
Posts: 70
Likes: 0
Received 0 Likes
on
0 Posts

#12
11-04-2013, 06:27 PM
Join Date: Oct 2013
Location: Antioch, CA
Posts: 70
Likes: 0
Received 0 Likes
on
0 Posts
thank you and you're right about the simplicity, there's really not much to these trucks and it helps keep the cost of building them down...to an extent
#13
11-05-2013, 01:42 AM
Join Date: Oct 2013
Location: Antioch, CA
Posts: 70
Likes: 0
Received 0 Likes
on
0 Posts
a few more progress pics from over the weekend
made a patch for the fuel filler hole, i'm going to run a fuel cell in the bed, but with a twist, stay tuned for that
also you can see where i took a big wire wheel to the cab floor and firewall, eventually going to paint it and dynamat
the crap out of it so i don't have the steel drum effect going on when it's up and running
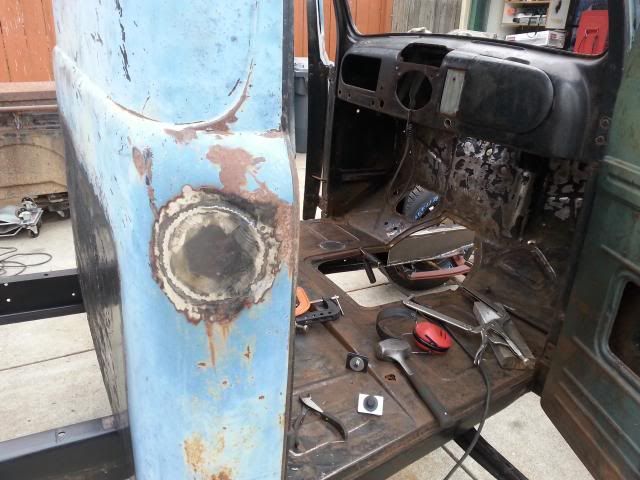
patched a section of the cab as well, had a few holes rusted through it

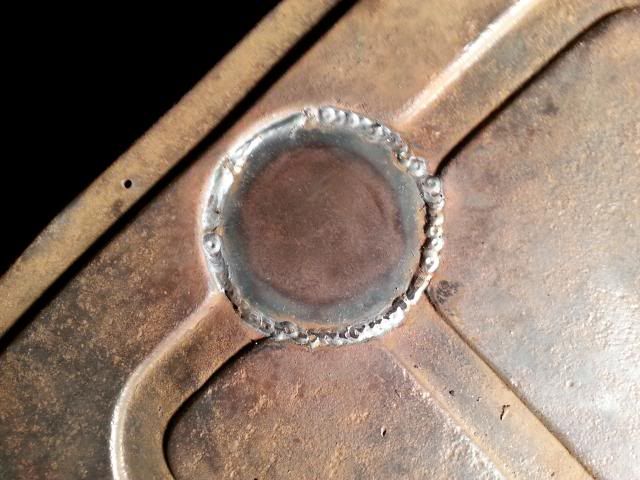
this was the old master cylinder reservoir access hole in the floor, going with a firewall mounted unit
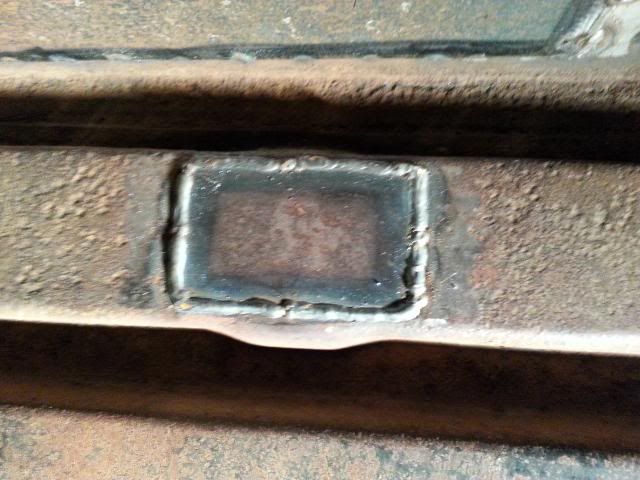
and patched the fuel line hole in the cab
made a patch for the fuel filler hole, i'm going to run a fuel cell in the bed, but with a twist, stay tuned for that
also you can see where i took a big wire wheel to the cab floor and firewall, eventually going to paint it and dynamat
the crap out of it so i don't have the steel drum effect going on when it's up and running
patched a section of the cab as well, had a few holes rusted through it
this was the old master cylinder reservoir access hole in the floor, going with a firewall mounted unit
and patched the fuel line hole in the cab
#14
11-05-2013, 05:09 PM
Join Date: Oct 2013
Location: Antioch, CA
Posts: 70
Likes: 0
Received 0 Likes
on
0 Posts
finished up the motor mount today
it all came out pretty good

i hadn't welded the flanged tube side to the bent tube in this pic yet, but I assure you i did after
i will flip the bolts at final assembly so the threads are toward the motor

inside of the frame
ground flush for the crossmember

outside of the frame
i ground the outer ends of the sleeves after the picture to give more surface area for the washer

it all came out pretty good
i hadn't welded the flanged tube side to the bent tube in this pic yet, but I assure you i did after
i will flip the bolts at final assembly so the threads are toward the motor
inside of the frame
ground flush for the crossmember
outside of the frame
i ground the outer ends of the sleeves after the picture to give more surface area for the washer

