Newbie 85 f250 frame off resto (Image Heavy)
#391
 04-08-2014, 07:37 PM

Posting Legend
#392
04-08-2014, 09:16 PM

If you're hooking the module to the S on the relay, that's not going to work (as you're finding out).
The S terminal is fed power from the red/blue wire and is hot when the key is in START (and the clutch/NSS (if installed) is closed). This activates the electromagnet inside which closes the two large contacts together and thereby feeds power to the starter motor; it also feeds power to the solenoid's small I terminal (if applicable).
By crossing the battery and the S terminal, you activate the solenoid and feed the starter, you also power the ignition module but only until you release the starter. So, the behavior you're seeing is a exactly correct for how you've wired it up.
The module receives battery voltage in START on one wire and in RUN on the other wire, this is determined in the ignition switch. (The power in one wire in START tells the module to retard the timing.)
The coil receives full battery voltage in START and reduced voltage (via the resistor) in RUN.
#393
04-09-2014, 08:23 AM
Join Date: Sep 2013
Location: New Hampshire
Posts: 429
Likes: 0
Received 0 Likes
on
0 Posts
#394
04-09-2014, 09:11 AM
Posting Legend
#395
04-09-2014, 09:42 AM
Join Date: Sep 2013
Location: New Hampshire
Posts: 429
Likes: 0
Received 0 Likes
on
0 Posts
Thanks to everyone helping me figure this out. I know the thing runs and runs good, that's enough for me right now. I'm getting very frustrated trying to run it without the proper setup,meaning the factory harness and ignition etc. I'm going to drain the coolant, replace the freeze plug again, and put it in storage so I can keep going forward.
When the time comes (body is done) I will plug everything in the way it's supposed to go and go from there.
Thanks again
When the time comes (body is done) I will plug everything in the way it's supposed to go and go from there.
Thanks again
#396
07-28-2014, 03:27 PM
Join Date: Sep 2013
Location: New Hampshire
Posts: 429
Likes: 0
Received 0 Likes
on
0 Posts
It's been a while since I've posted and I have done some work on the truck, but not lately. I've been spending sometime with the kids this summer and doing a little work to my daily driver to get a sticker.
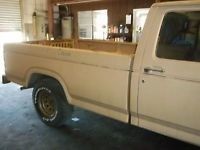
I don't know if I mentioned it but my bed wasn't in the best shape so I had been looking for a replacement for a couple of months. Every one I looked at in this area was rotted to the same extent that mine was or worse. I found one on ebay in Georgia for a good price and had it $hipped up here. The new bed came off of a 82 f100. Excuse the pics, the first two are the ones that were on ebay and the last one the junkyard sent to me.

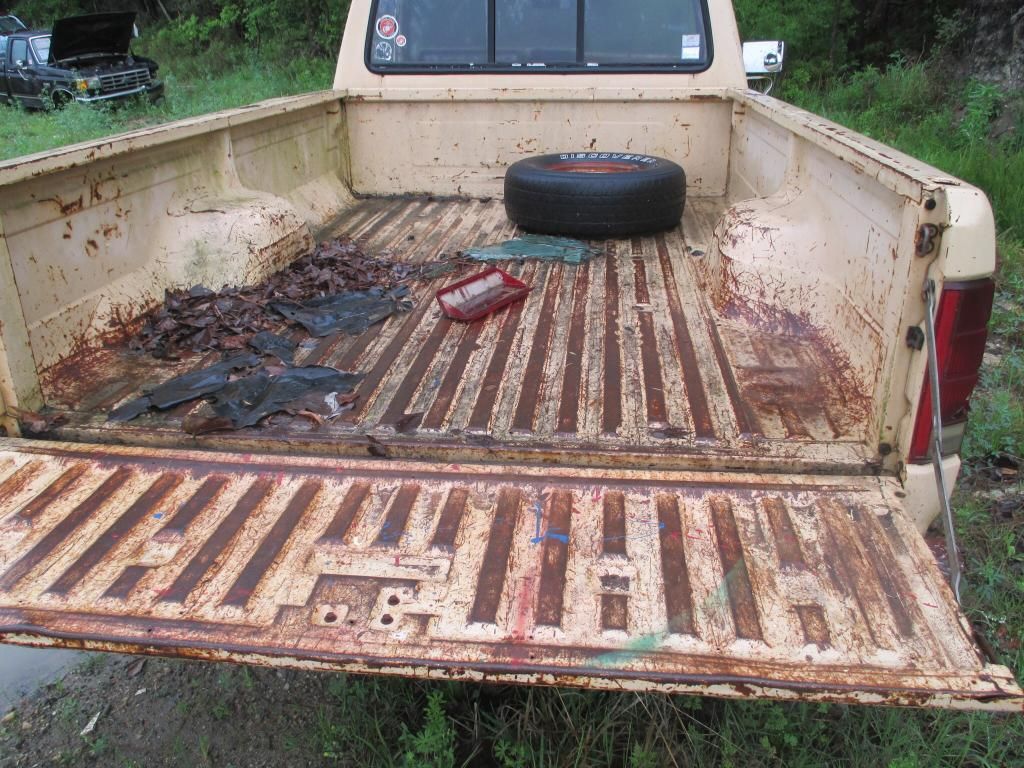
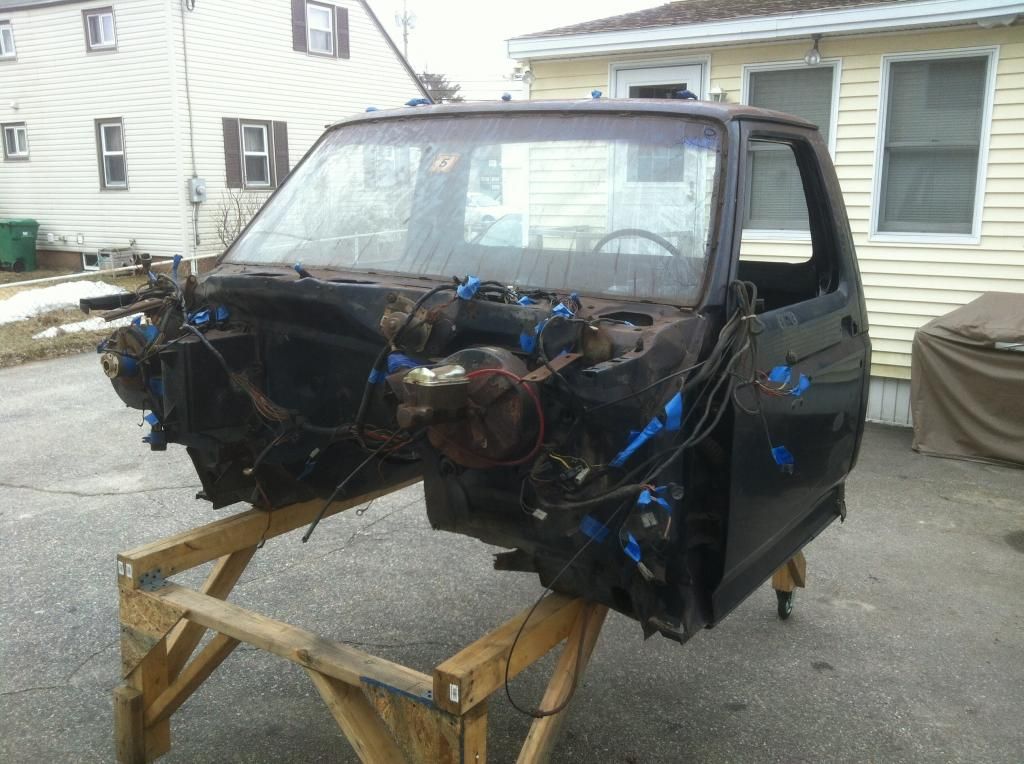
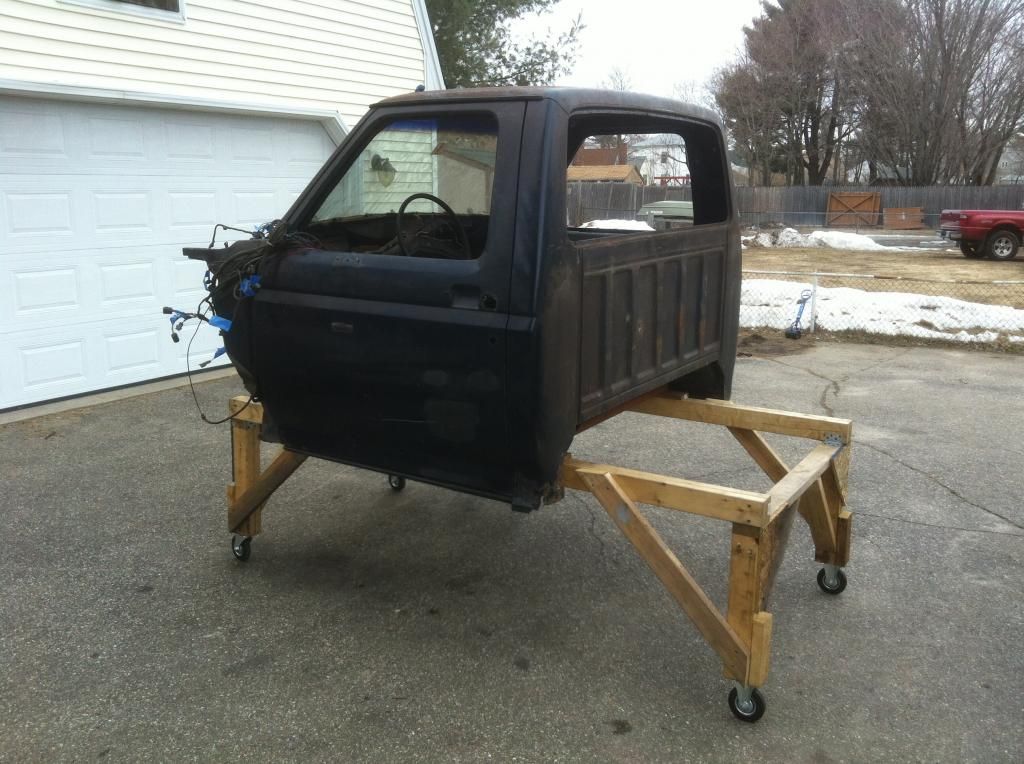
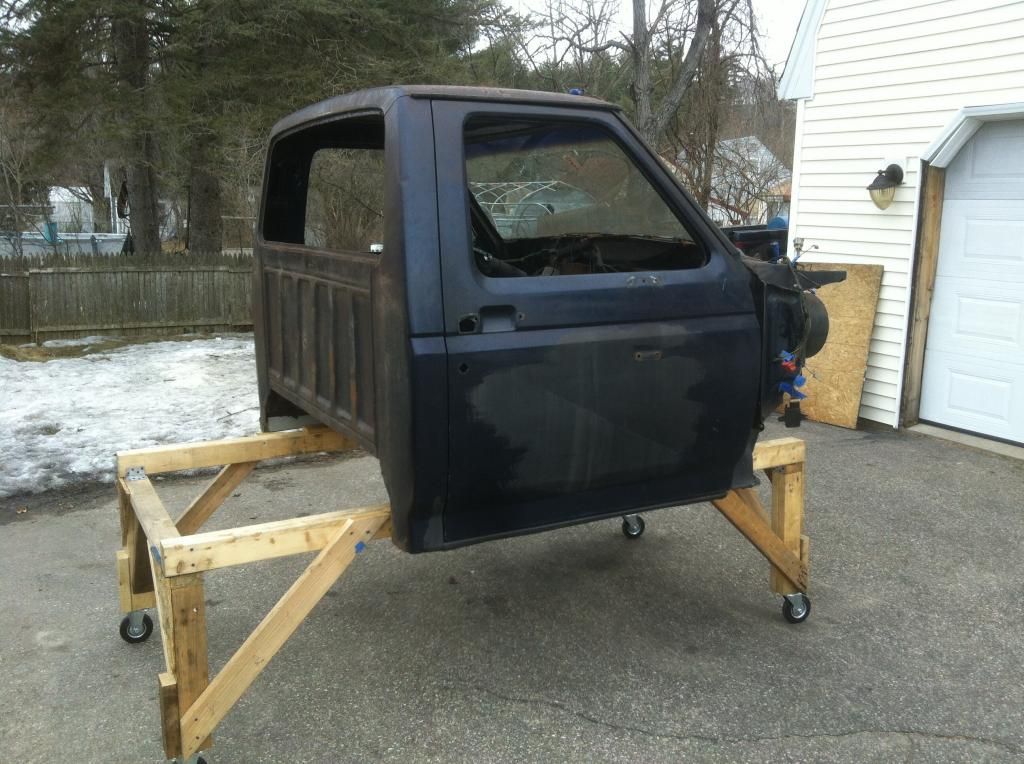
Here's my cab and my little cart I made for it
I stripped everything out of it, taking pictures all along the way, and gave the cab a good wash.
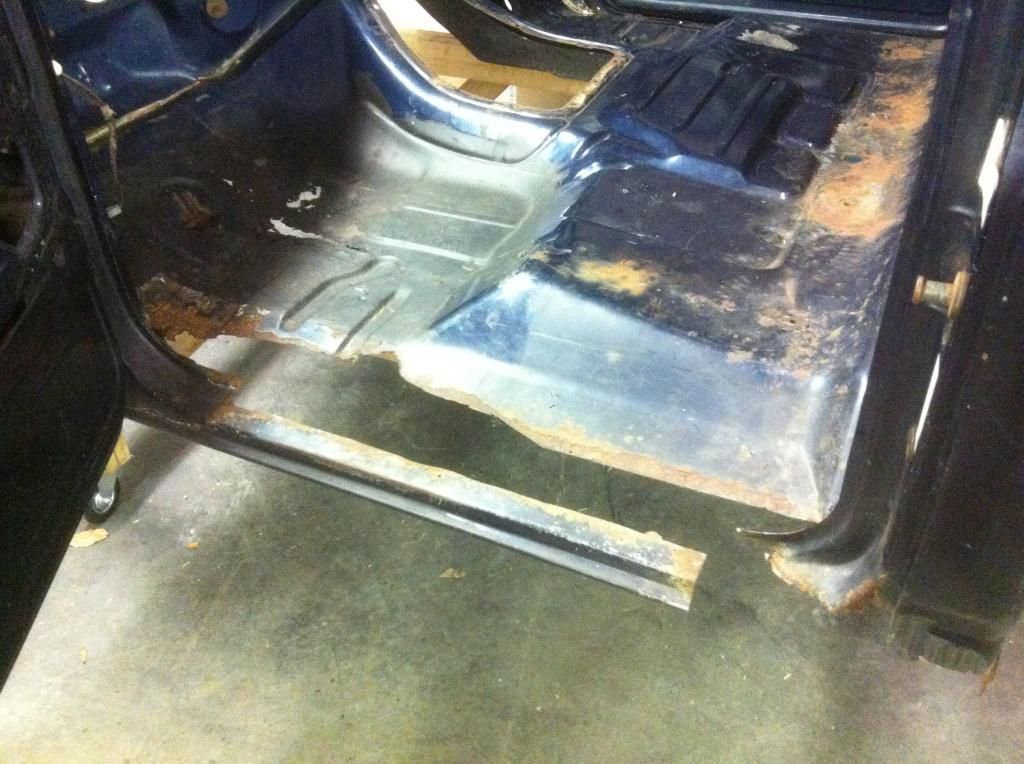
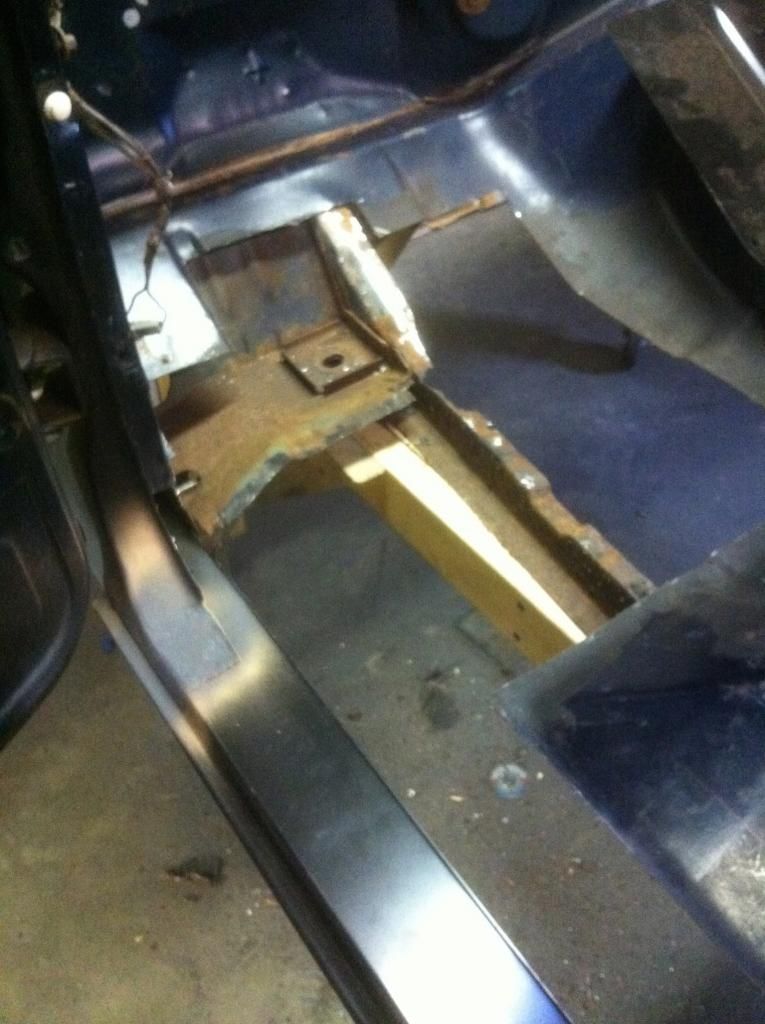
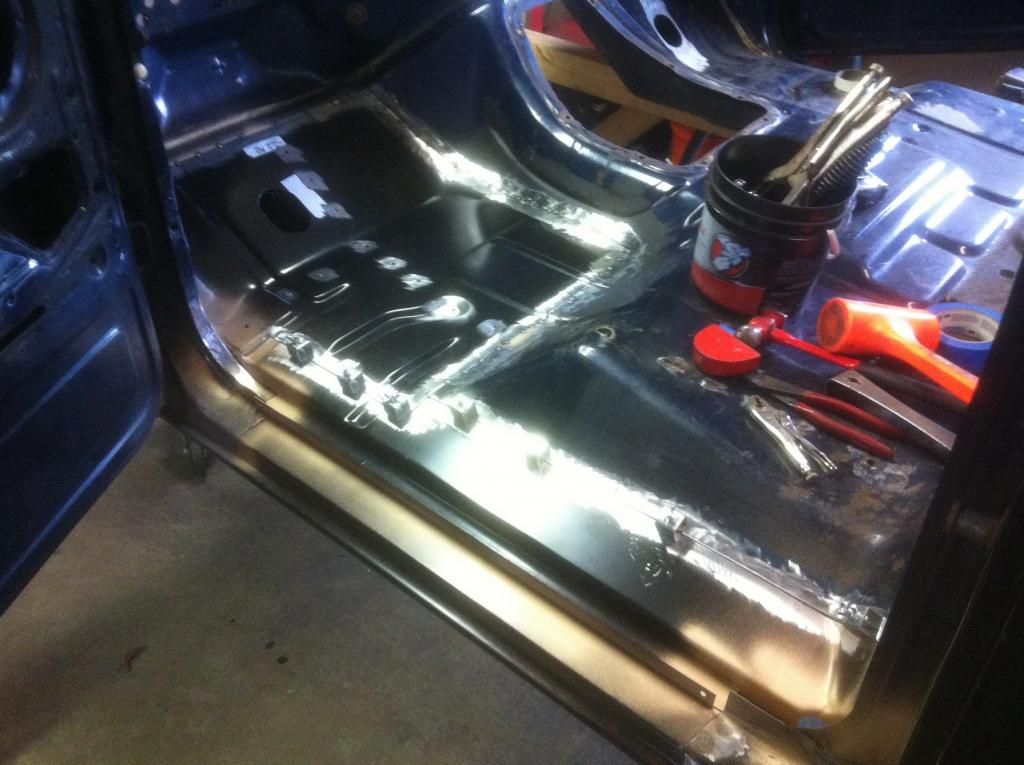
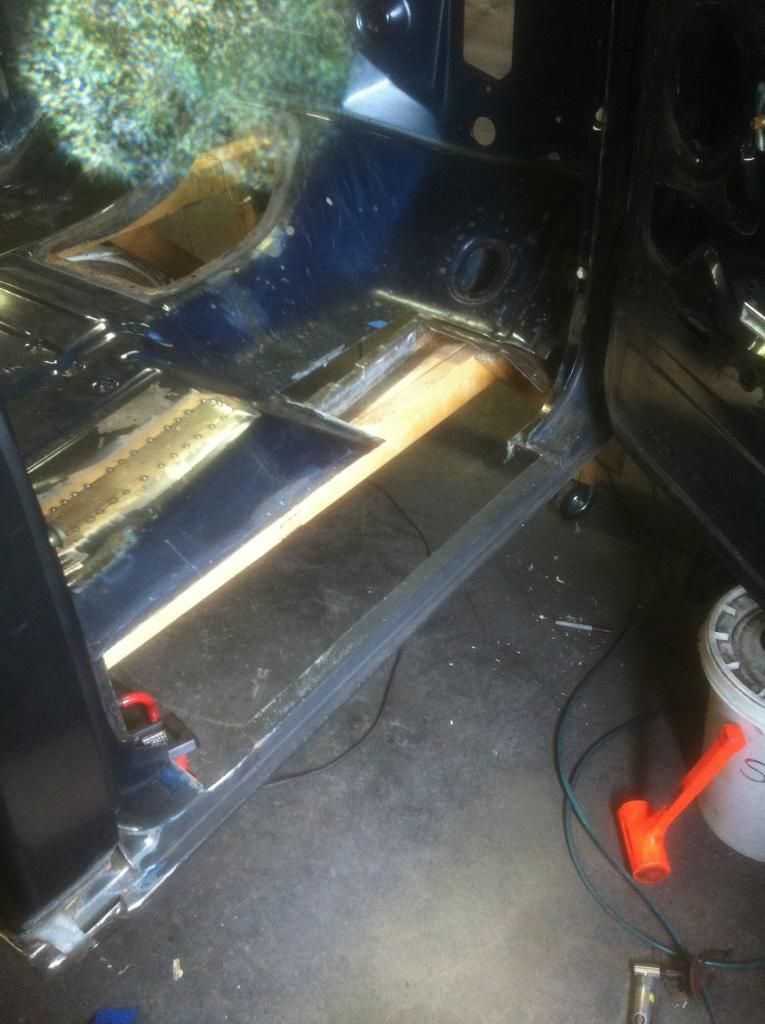
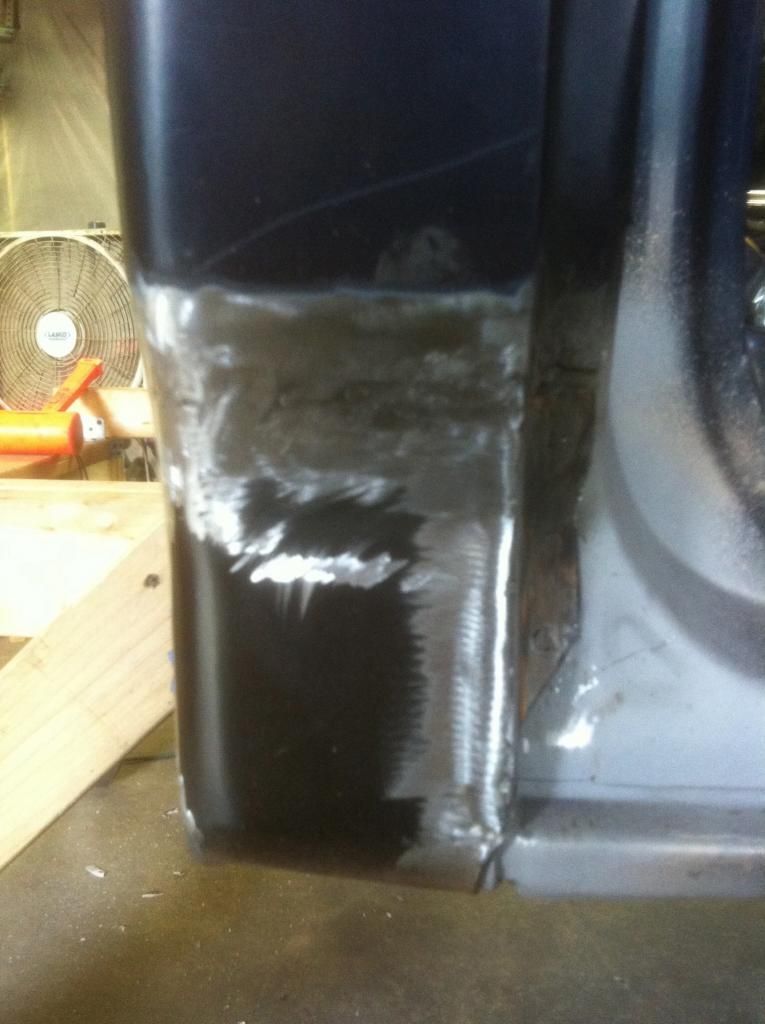
While everything was drying out I tried to get a plan in my head of what sections of the rust I wanted to work on first. Meaning rockers, floorpans and then cab corners or what. There was some cheap break metal covering the missing rockers and floorpans I pulled that stuff off and this is what was left of the drivers side!
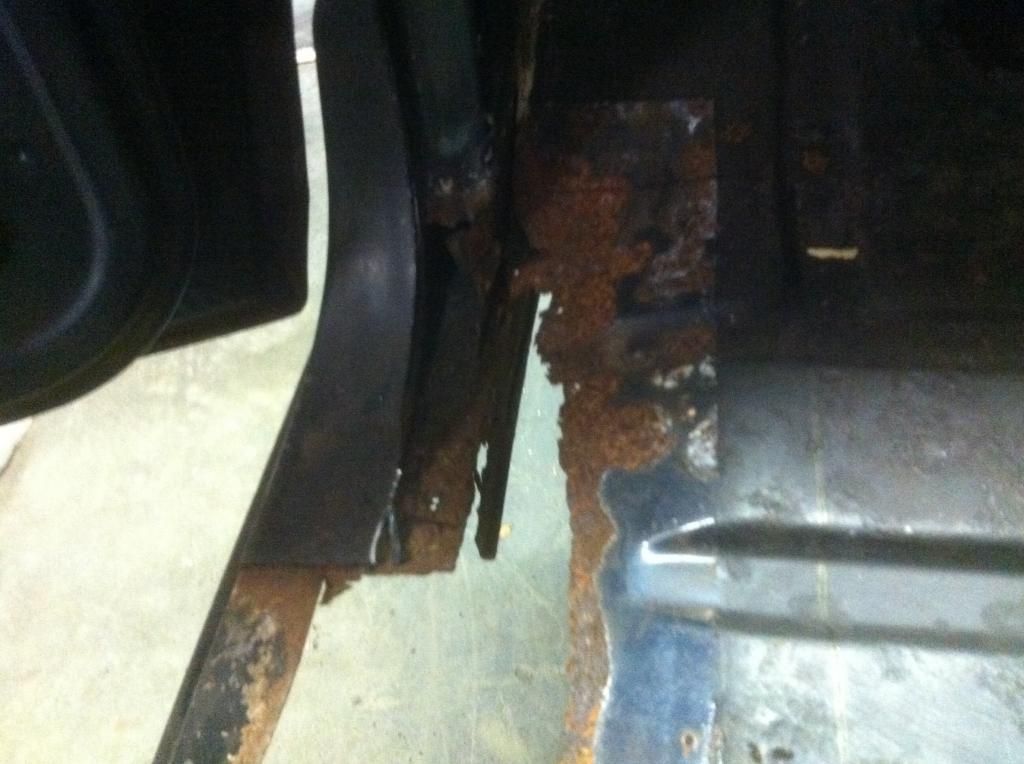

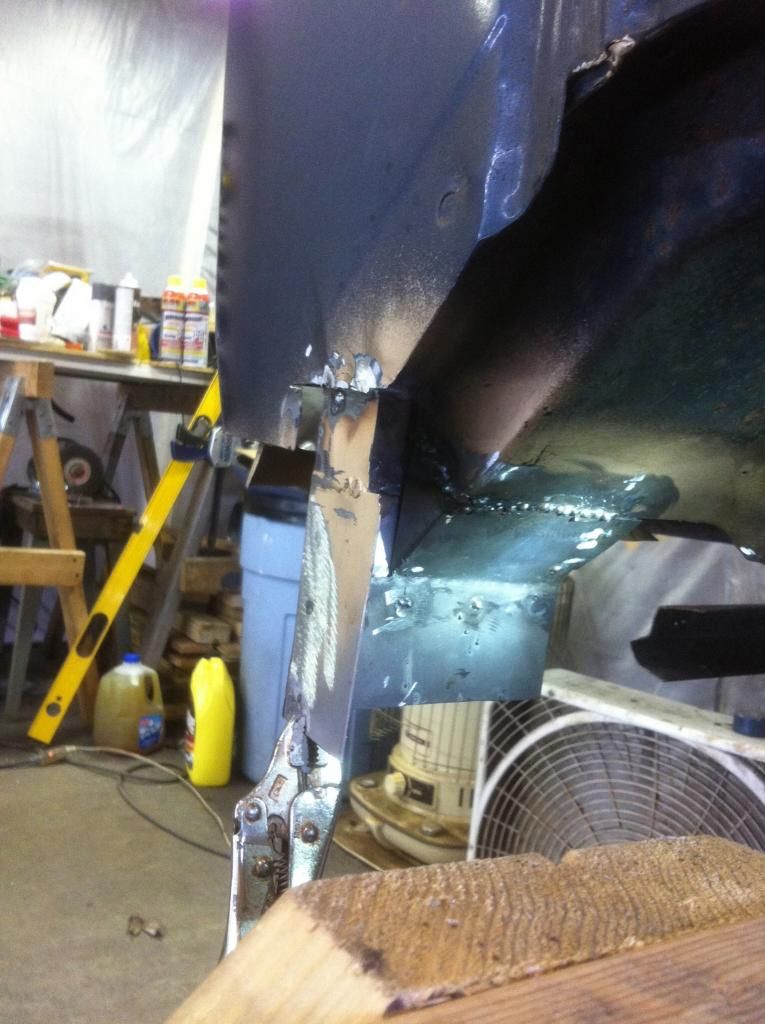
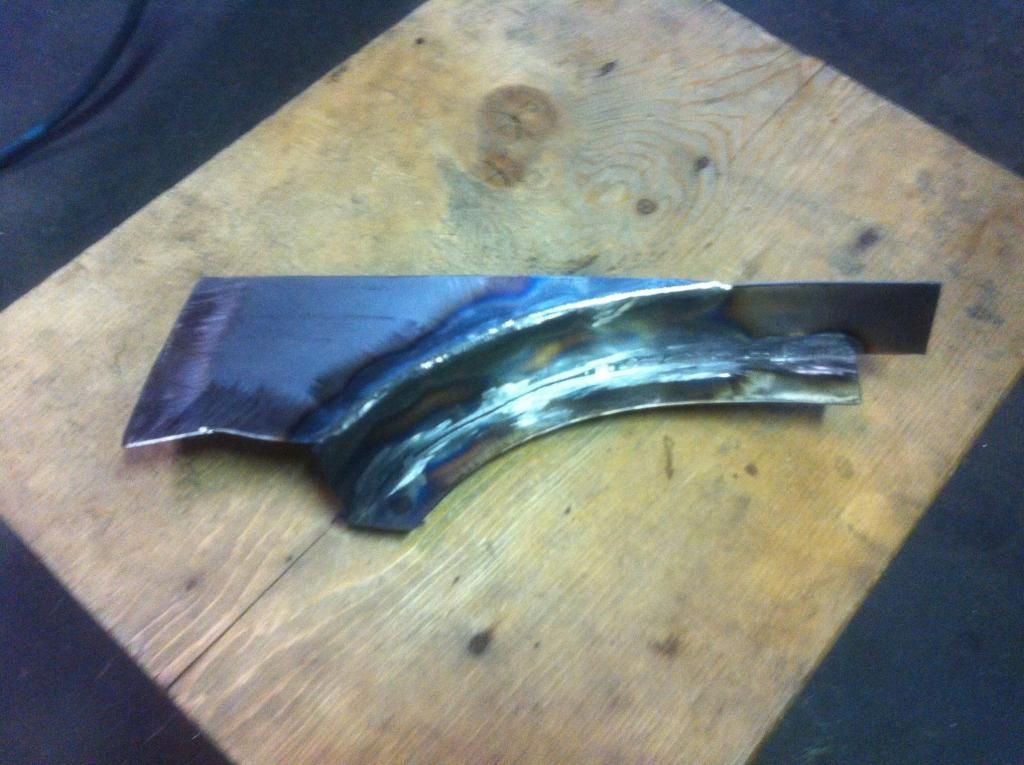
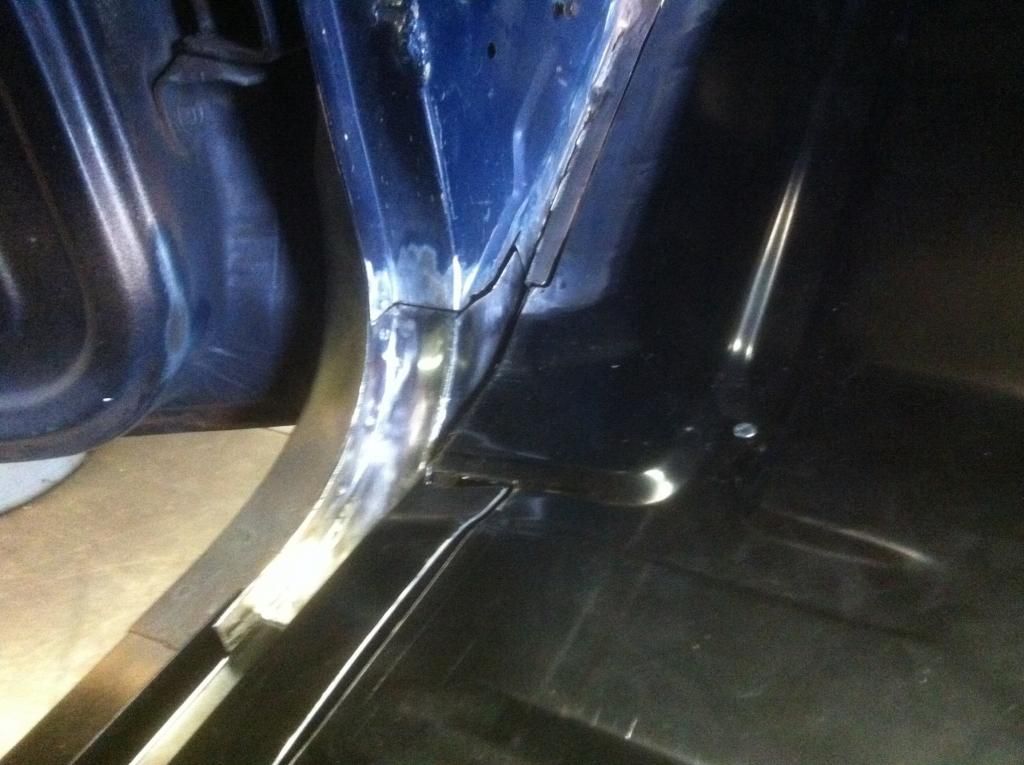
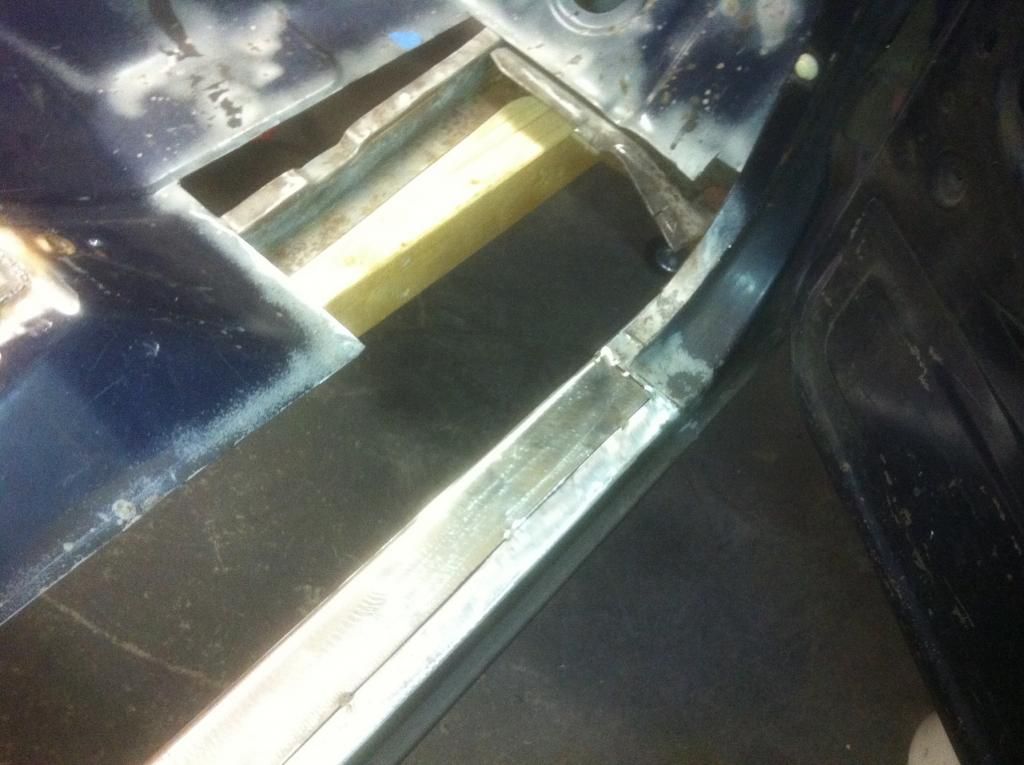
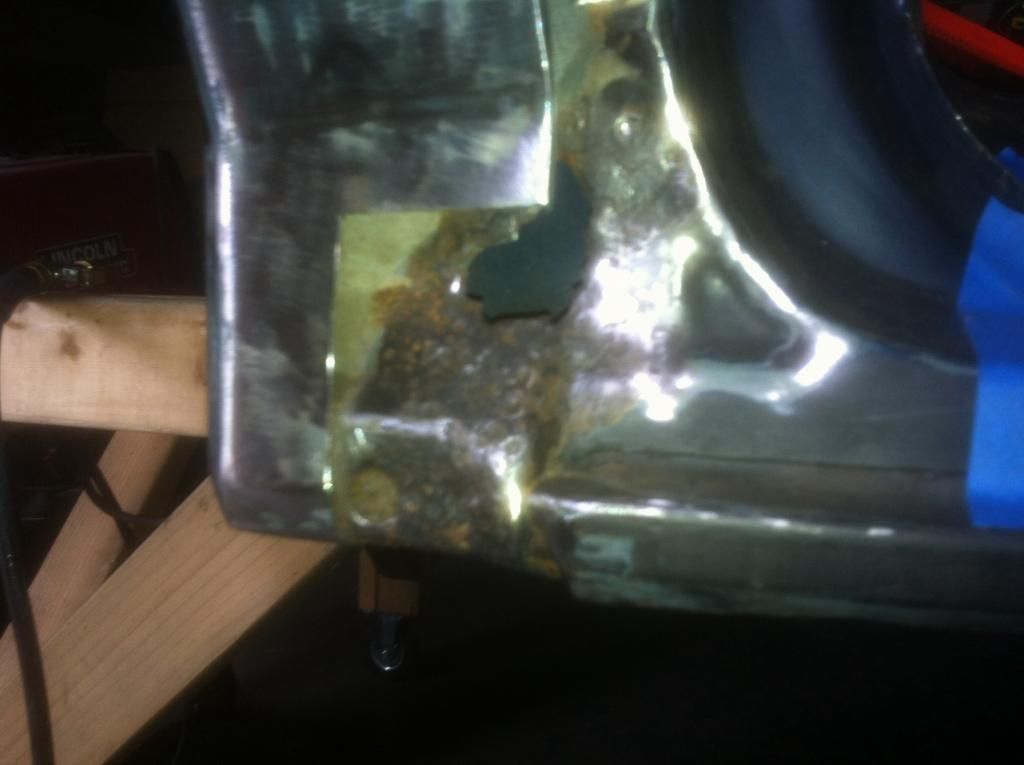
I had to make new pieces to go in behind the cab corners where the sloping part of the floor meets the rocker. Here's the area I'm talking about.

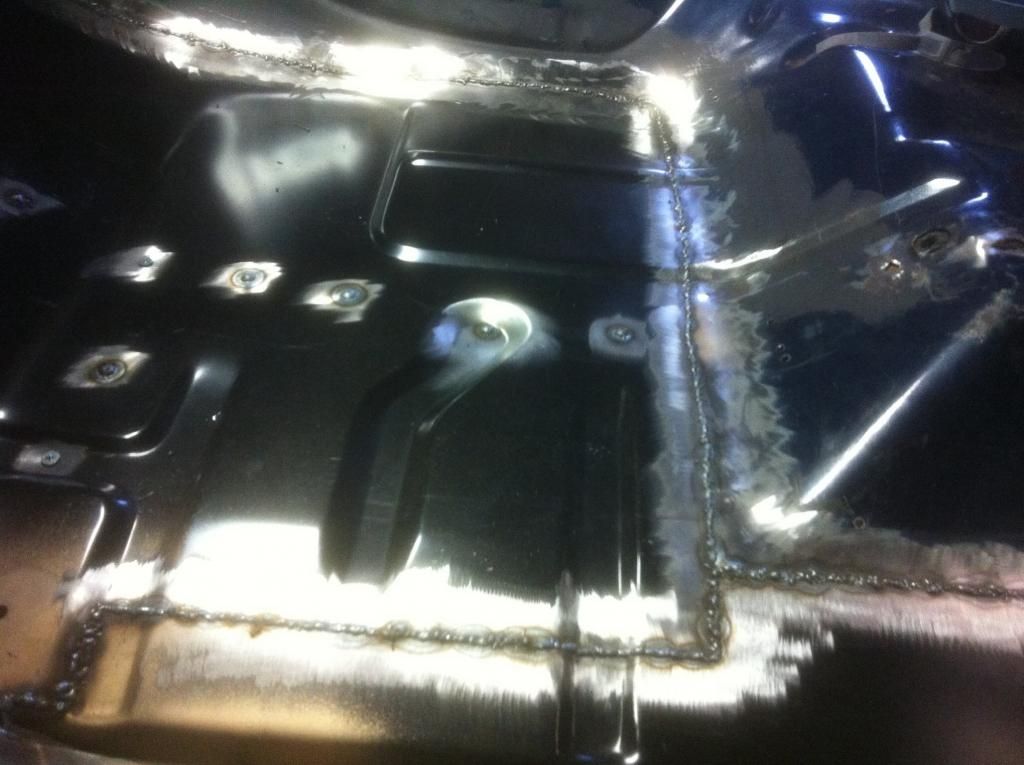
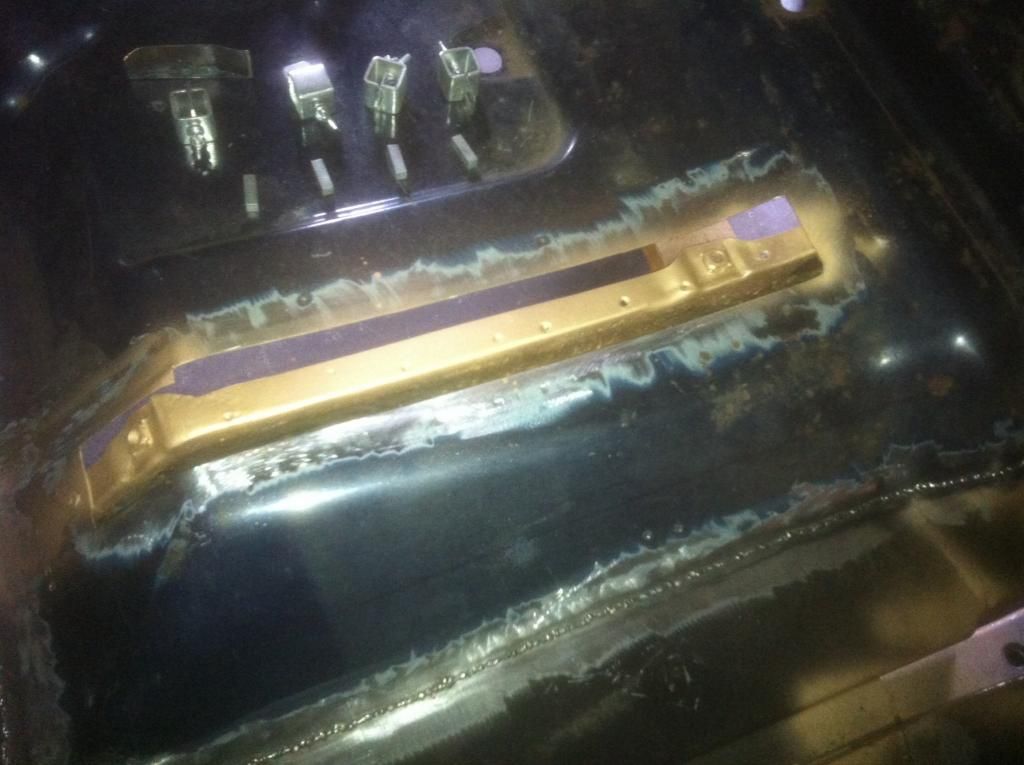
Then I drilled out the spot welds on the rocker and tore that out and replaced it using LMC parts. I brought the pieces down to bare metal anywhere it was going to be plug welded or anywhere I wasn't going to be able to get after welding new pieces in and used SEM Copperweld weld thru primer.

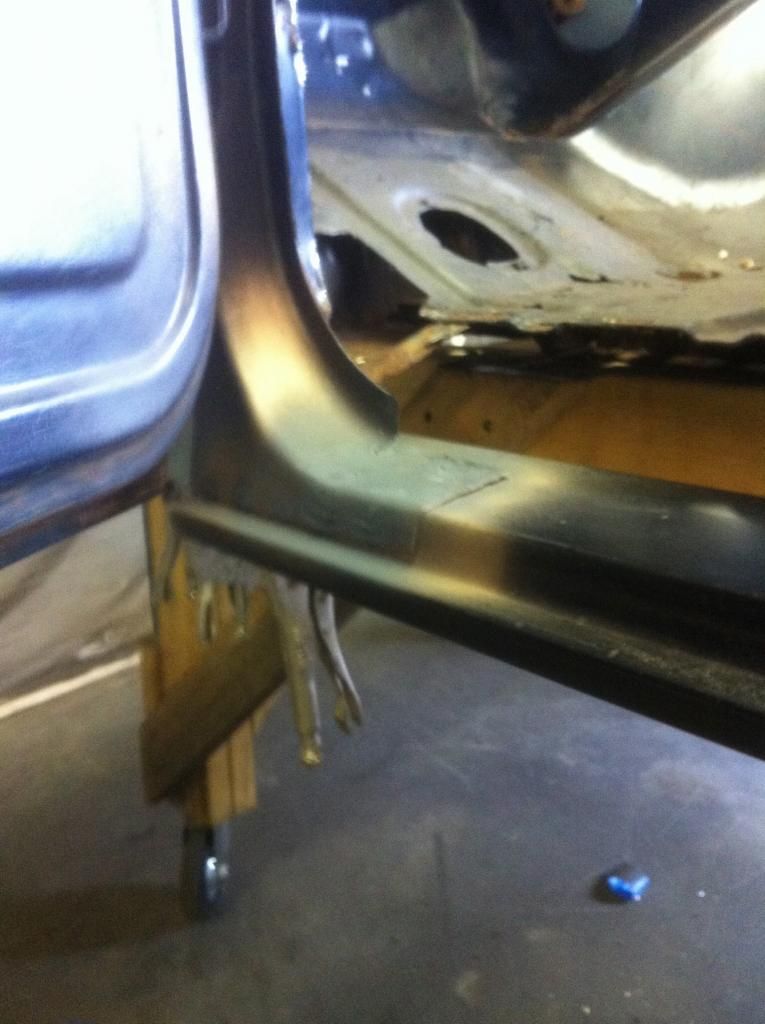
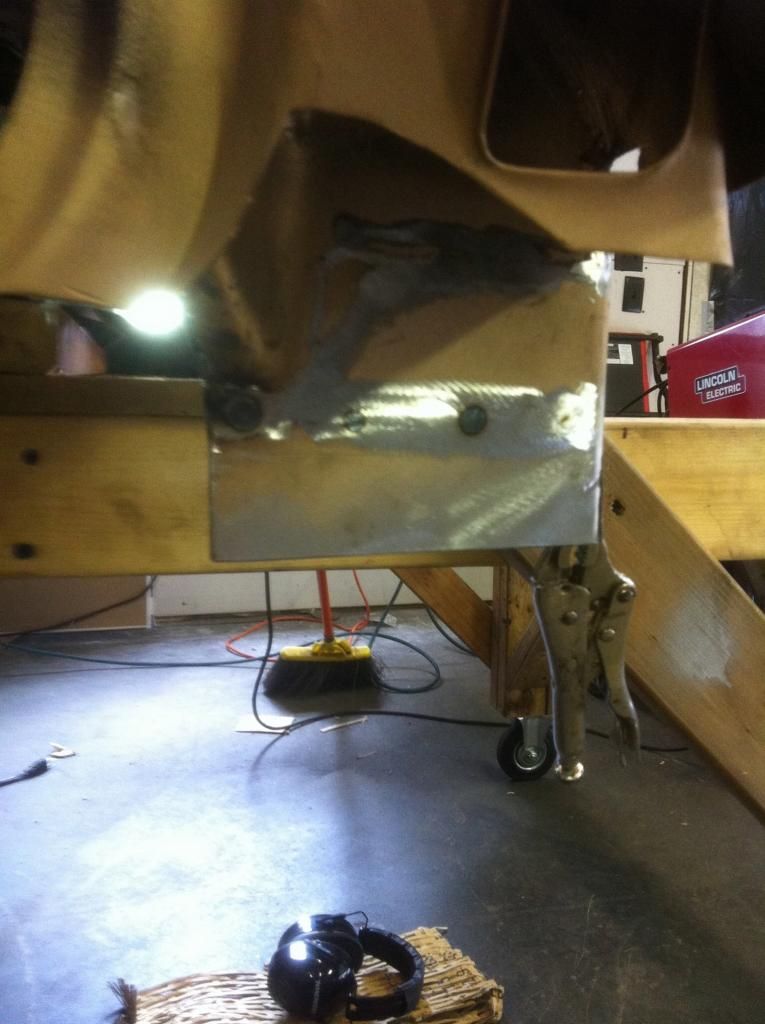
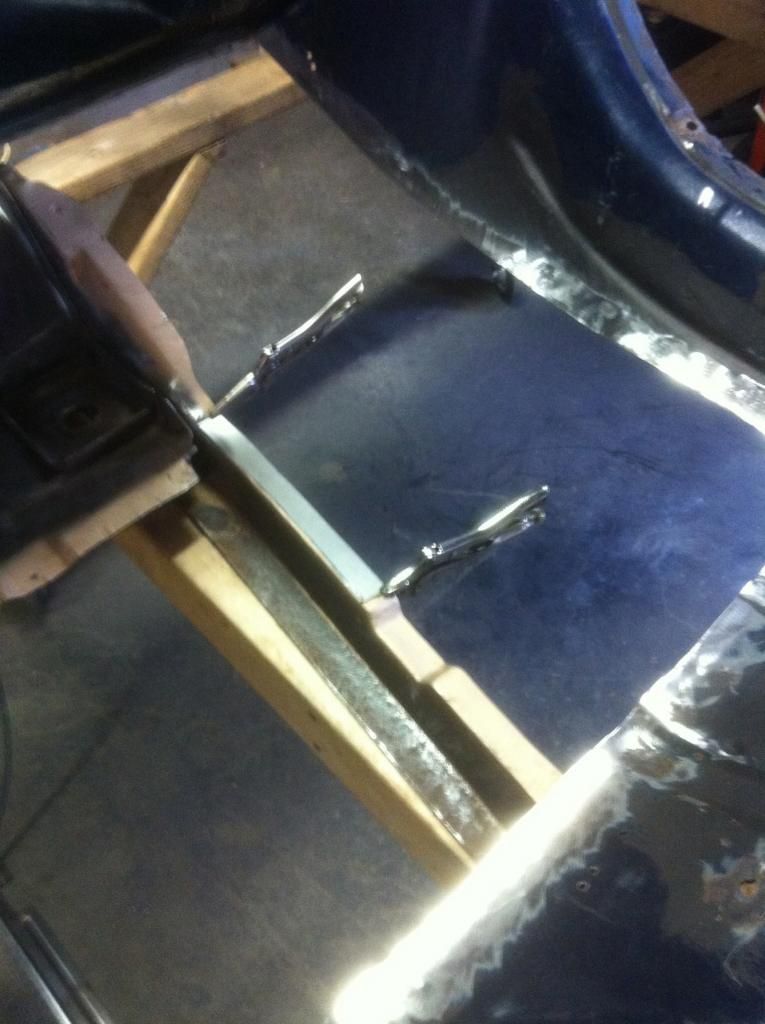
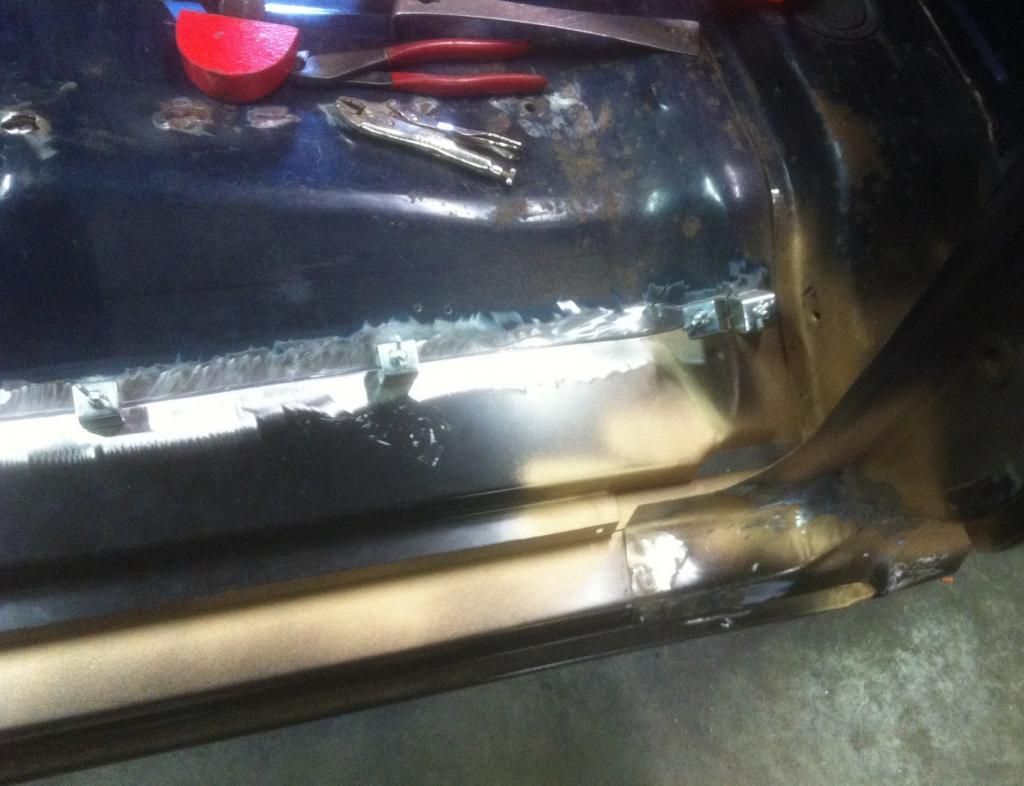
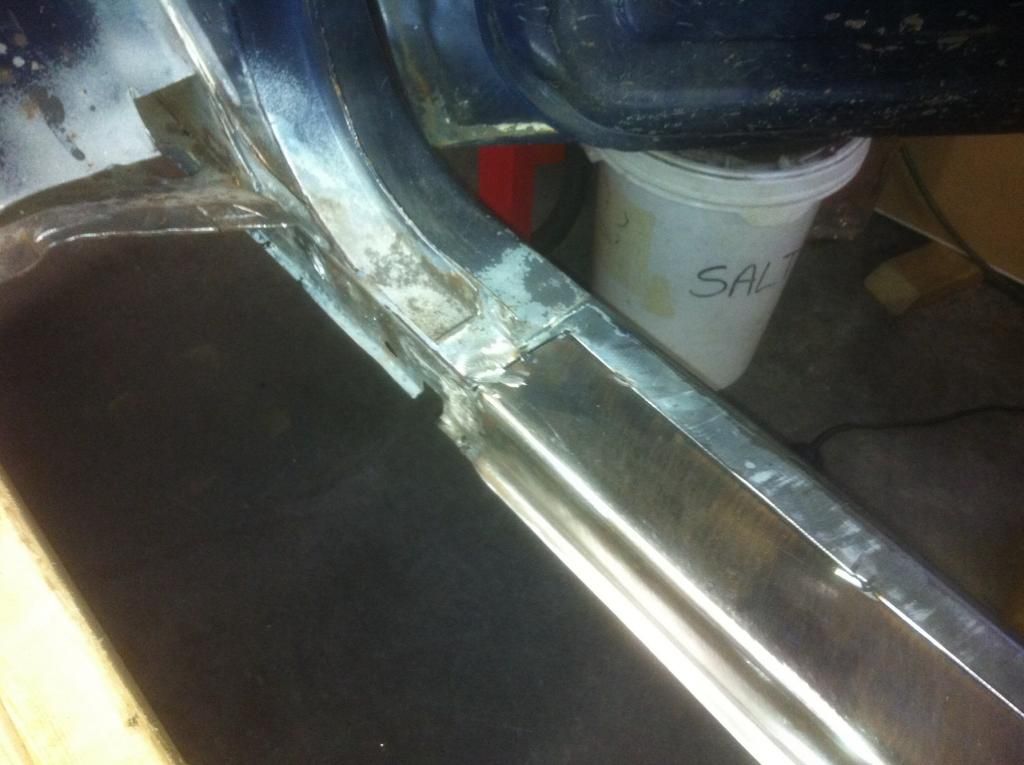
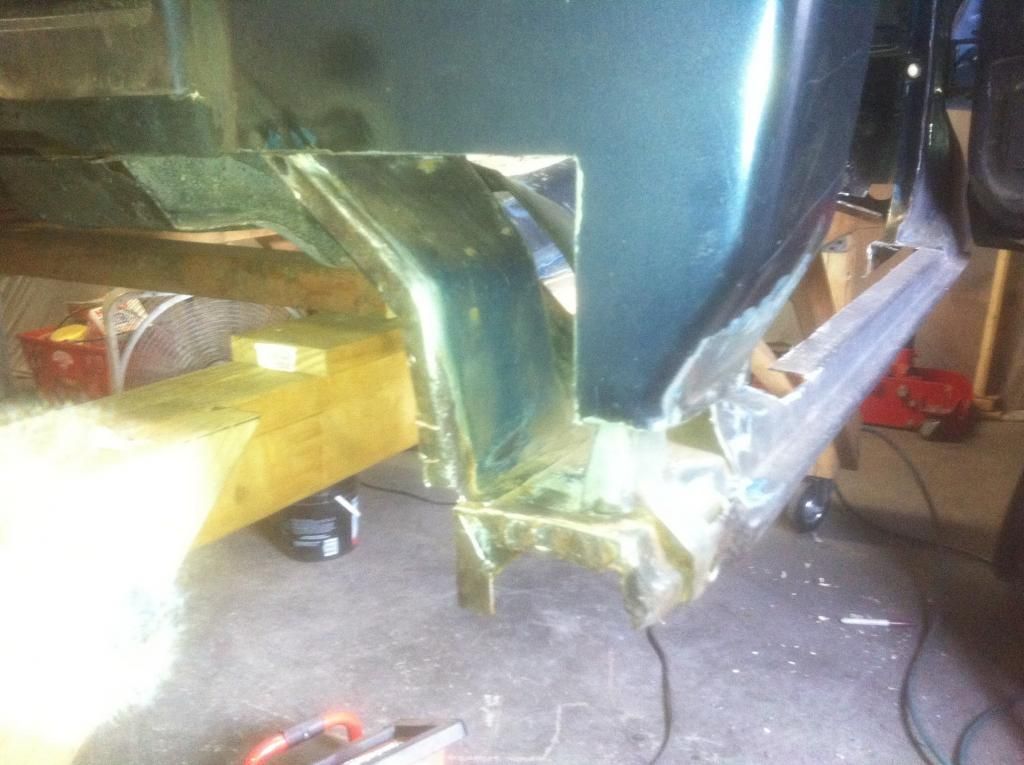
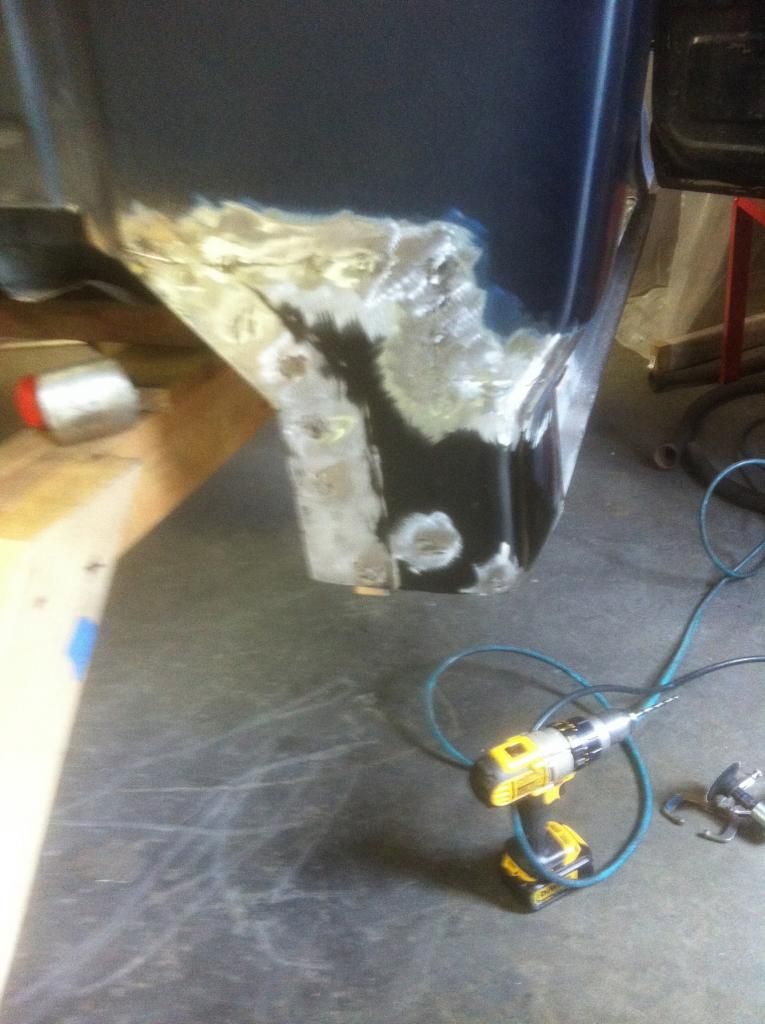
Continuing on I put the new lower door post area on cutting and fitting an then butt welding. The pic is a little blurry but you get the idea.
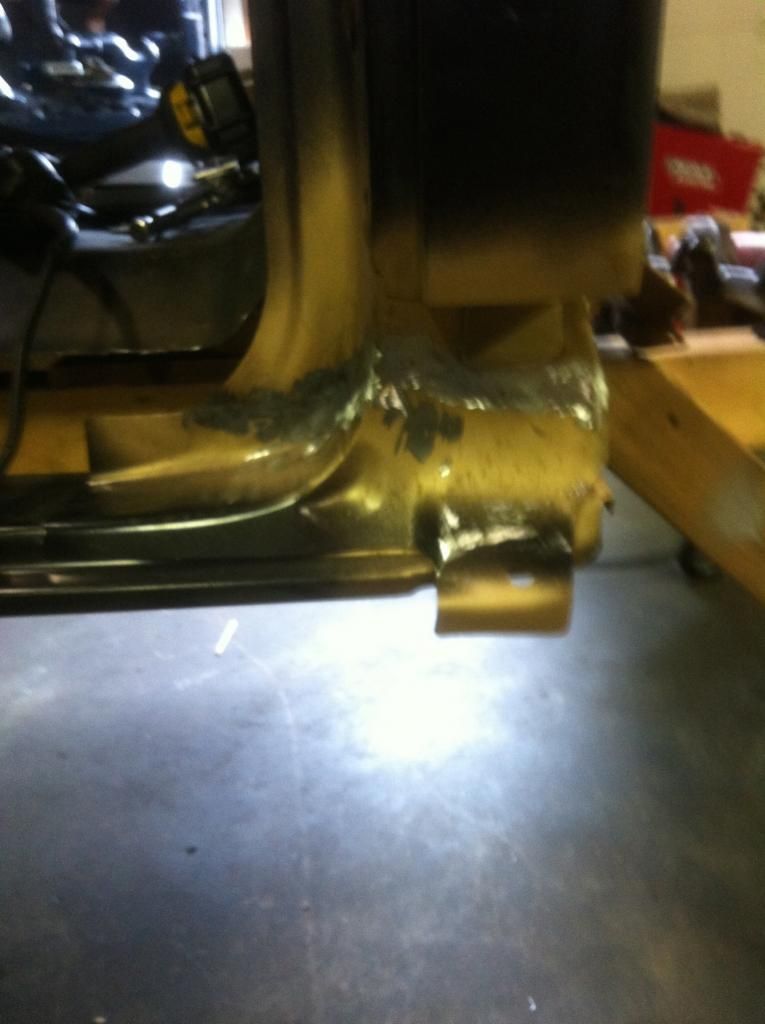
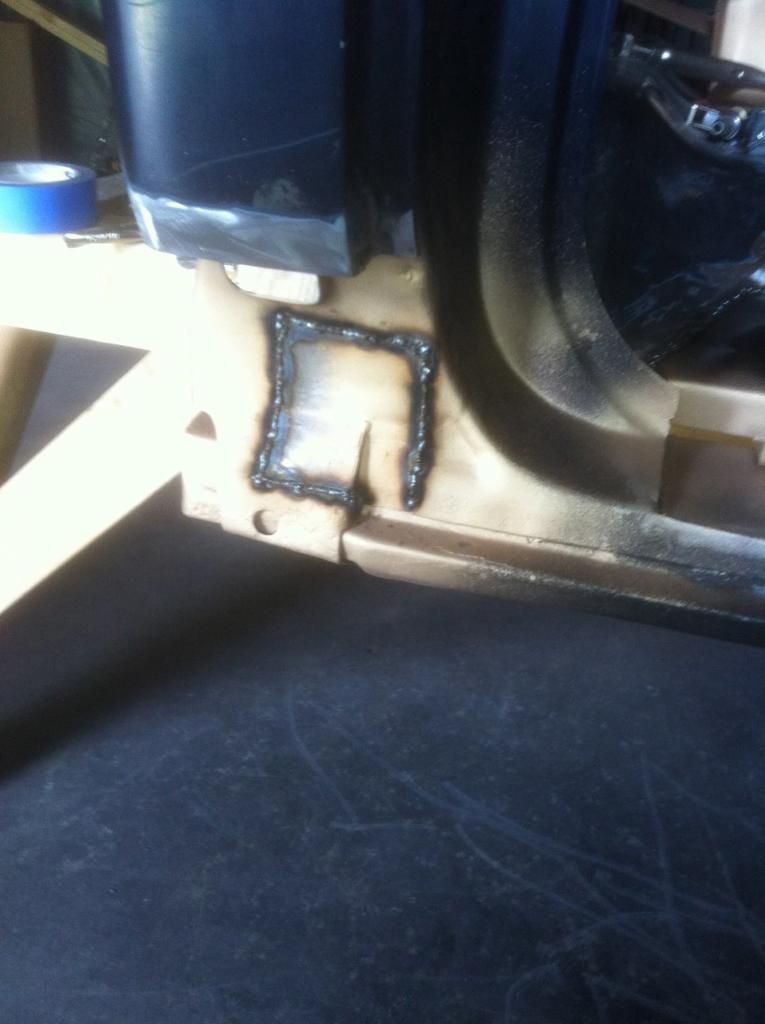
I made this piece to go on the inside of the lower door post in the front
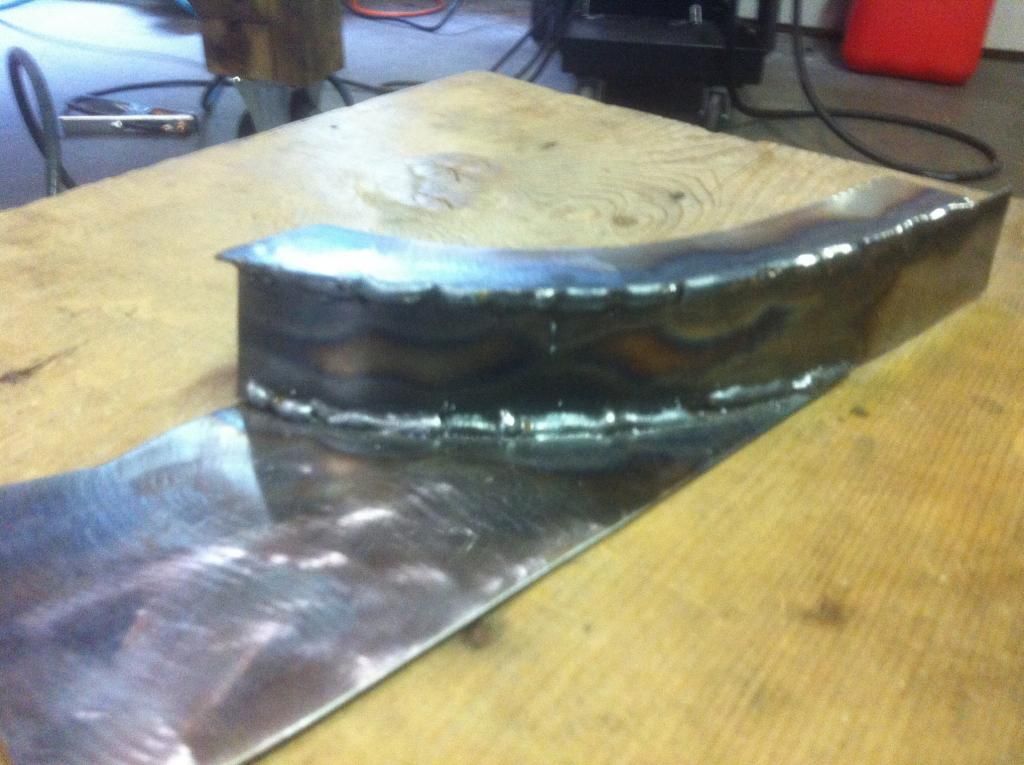

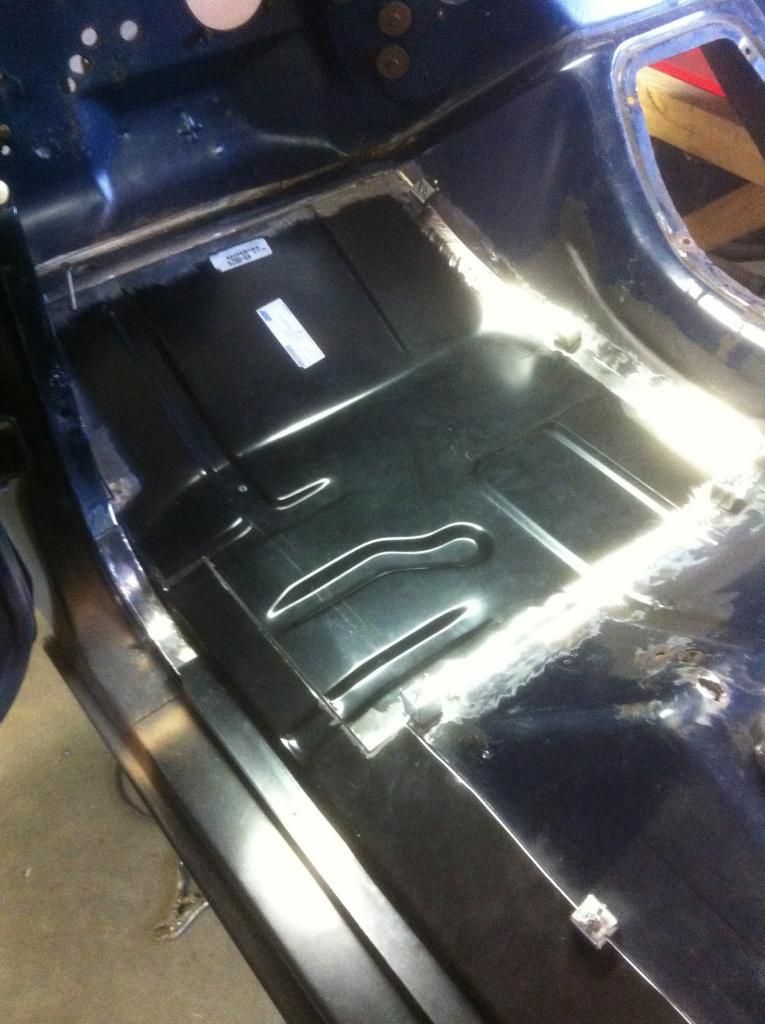
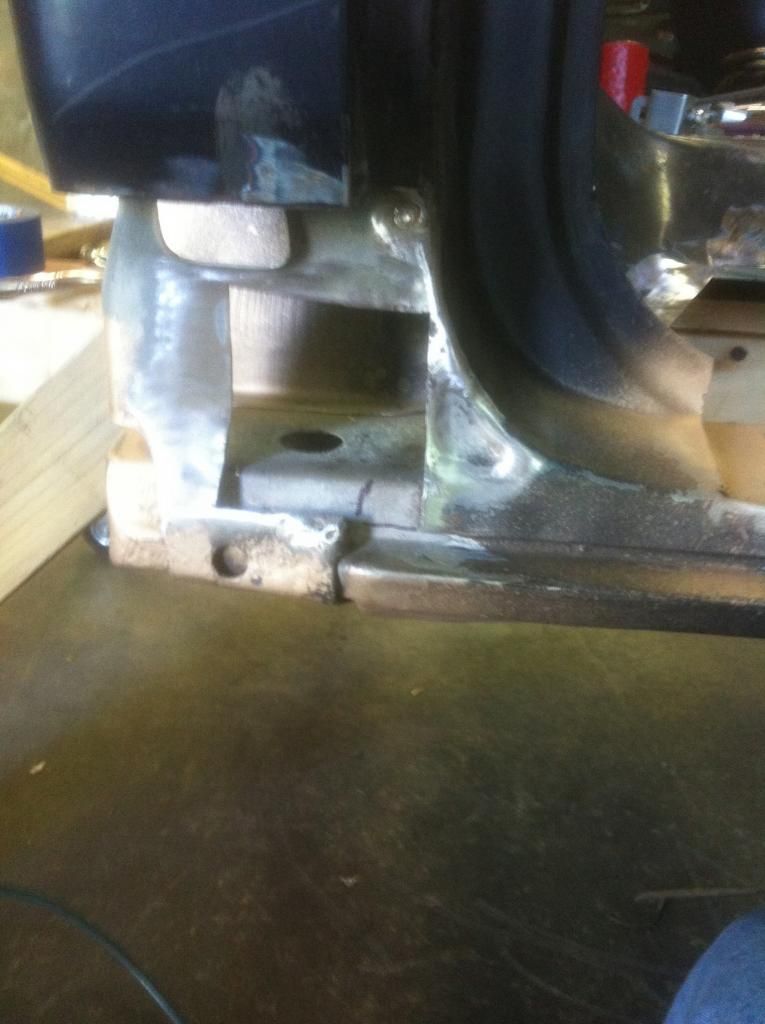
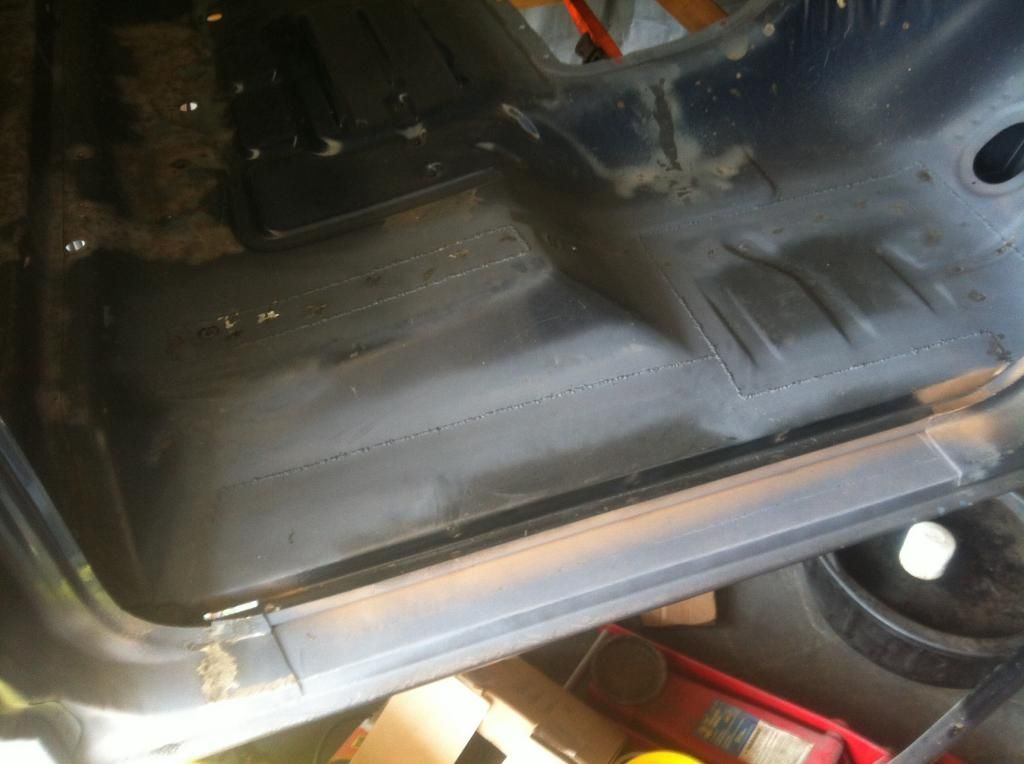
Cab corners and floorpans and a small spot of the floor support


These are all random pics of the work, there are too many pics to go through, so that's why some pictures don't show the completed product.
All the metal work has been completed driver and pass side but I need to upload some photos from the pass side.
I did clean up and POR the inside of the floor support, it doesn't show this in these pics but it was done also.
I don't know if I mentioned it but my bed wasn't in the best shape so I had been looking for a replacement for a couple of months. Every one I looked at in this area was rotted to the same extent that mine was or worse. I found one on ebay in Georgia for a good price and had it $hipped up here. The new bed came off of a 82 f100. Excuse the pics, the first two are the ones that were on ebay and the last one the junkyard sent to me.
Here's my cab and my little cart I made for it
I stripped everything out of it, taking pictures all along the way, and gave the cab a good wash.
While everything was drying out I tried to get a plan in my head of what sections of the rust I wanted to work on first. Meaning rockers, floorpans and then cab corners or what. There was some cheap break metal covering the missing rockers and floorpans I pulled that stuff off and this is what was left of the drivers side!
I had to make new pieces to go in behind the cab corners where the sloping part of the floor meets the rocker. Here's the area I'm talking about.
Then I drilled out the spot welds on the rocker and tore that out and replaced it using LMC parts. I brought the pieces down to bare metal anywhere it was going to be plug welded or anywhere I wasn't going to be able to get after welding new pieces in and used SEM Copperweld weld thru primer.
Continuing on I put the new lower door post area on cutting and fitting an then butt welding. The pic is a little blurry but you get the idea.
I made this piece to go on the inside of the lower door post in the front
Cab corners and floorpans and a small spot of the floor support
These are all random pics of the work, there are too many pics to go through, so that's why some pictures don't show the completed product.
All the metal work has been completed driver and pass side but I need to upload some photos from the pass side.
I did clean up and POR the inside of the floor support, it doesn't show this in these pics but it was done also.
#397
07-28-2014, 03:40 PM
Logistics Pro
It's been a while since I've posted and I have done some work on the truck, but not lately. I've been spending sometime with the kids this summer and doing a little work to my daily driver to get a sticker.
I don't know if I mentioned it but my bed wasn't in the best shape so I had been looking for a replacement for a couple of months. Every one I looked at in this area was rotted to the same extent that mine was or worse. I found one on ebay in Georgia for a good price and had it $hipped up here. The new bed came off of a 82 f100. Excuse the pics, the first two are the ones that were on ebay and the last one the junkyard sent to me.
Here's my cab and my little cart I made for it
I stripped everything out of it, taking pictures all along the way, and gave the cab a good wash.
While everything was drying out I tried to get a plan in my head of what sections of the rust I wanted to work on first. Meaning rockers, floorpans and then cab corners or what. There was some cheap break metal covering the missing rockers and floorpans I pulled that stuff off and this is what was left of the drivers side!
I had to make new pieces to go in behind the cab corners where the sloping part of the floor meets the rocker. Here's the area I'm talking about.
Then I drilled out the spot welds on the rocker and tore that out and replaced it using LMC parts. I brought the pieces down to bare metal anywhere it was going to be plug welded or anywhere I wasn't going to be able to get after welding new pieces in and used SEM Copperweld weld thru primer.
Continuing on I put the new lower door post area on cutting and fitting an then butt welding. The pic is a little blurry but you get the idea.
I made this piece to go on the inside of the lower door post in the front
Cab corners and floorpans and a small spot of the floor support
These are all random pics of the work, there are too many pics to go through, so that's why some pictures don't show the completed product.
All the metal work has been completed driver and pass side but I need to upload some photos from the pass side.
I did clean up and POR the inside of the floor support, it doesn't show this in these pics but it was done also.
#398
07-29-2014, 11:31 AM
Join Date: Sep 2013
Location: New Hampshire
Posts: 429
Likes: 0
Received 0 Likes
on
0 Posts
Lol, no, this is the first time I've ever welded sheet metal. I just practiced on a piece of scrap and when I thought I was doing alright I went to town. I was always interested in metal fabrication, but never tried it. The plug welds were the most difficult for me, some I had to do over and over, the holes were filling up with weld and I wasn't getting good penetration. I adjusted the heat and distance and speed several times and kinda got the hang of it. The plugs now seem to be very strong, so I hope everything holds up.
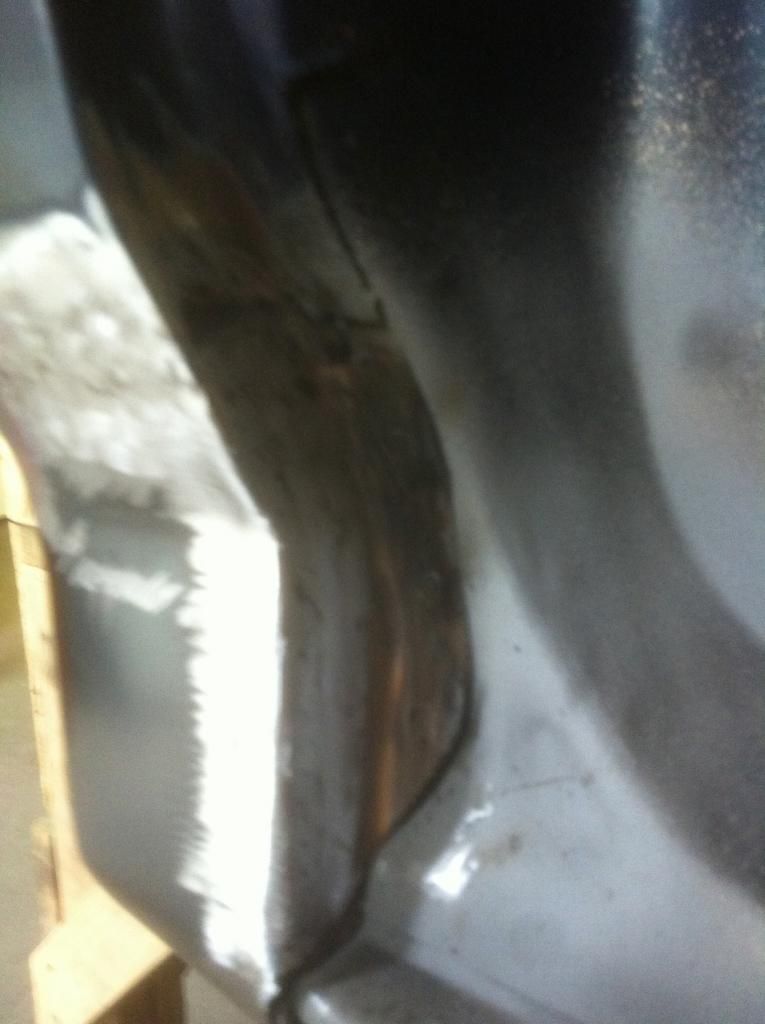
The metal on top of the floor supports where the seat tracks run was all bubbled up with rust holes and needed to be fixed as well. There's tools all over the place but you can see what I'm talking about, the rust was all built up in between the spot welds

The passenger side seemed to be in better shape, but when I got working it was just as much work.


For the most part the LMC parts were pretty good quality, the cab corners dimensions were off quite a bit though. I had to cut them and rework them to get them to fit right.
You can see that the cab corner is off nearly a 1/4" left to right and it has a 1/4" space in between the return and the lower door post!


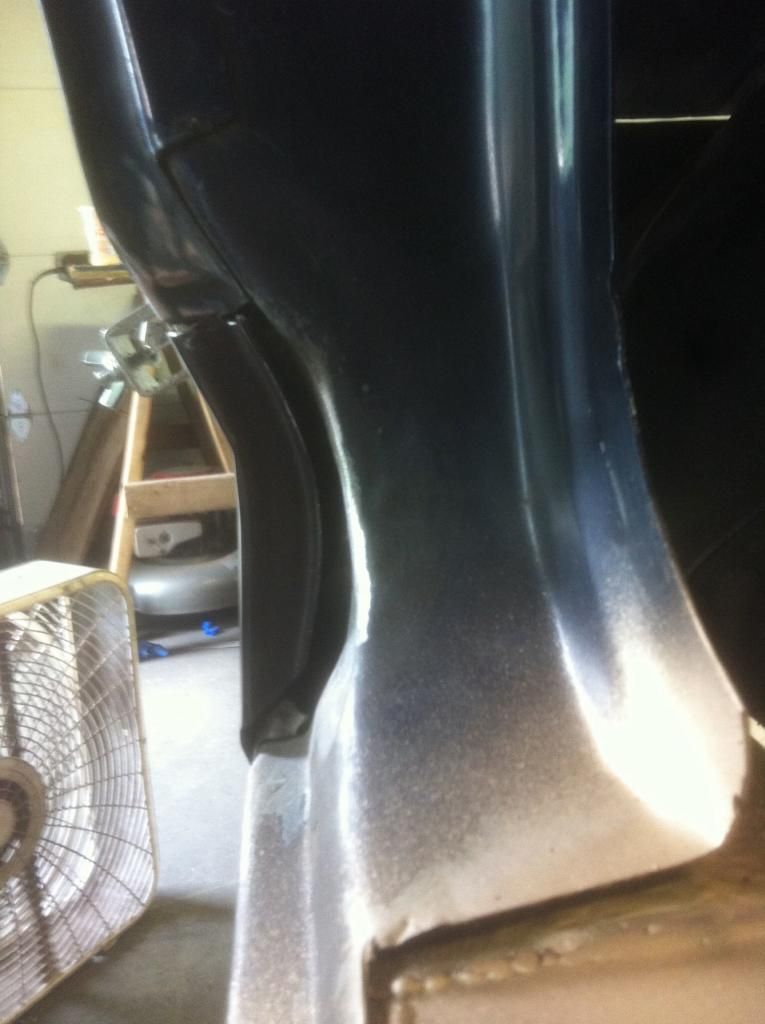
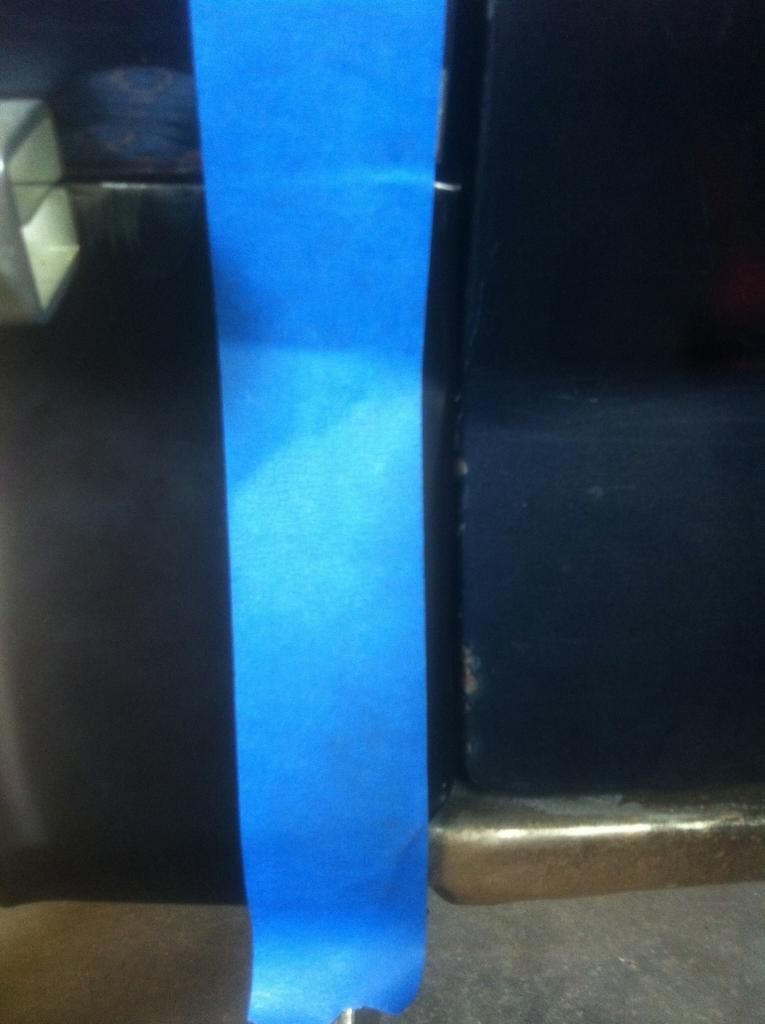
I cut along the tape line and then moved the return piece in back of the face of the cab corner to make up the space in the back.

The metal on top of the floor supports where the seat tracks run was all bubbled up with rust holes and needed to be fixed as well. There's tools all over the place but you can see what I'm talking about, the rust was all built up in between the spot welds
The passenger side seemed to be in better shape, but when I got working it was just as much work.
For the most part the LMC parts were pretty good quality, the cab corners dimensions were off quite a bit though. I had to cut them and rework them to get them to fit right.
You can see that the cab corner is off nearly a 1/4" left to right and it has a 1/4" space in between the return and the lower door post!
I cut along the tape line and then moved the return piece in back of the face of the cab corner to make up the space in the back.
#400
07-29-2014, 11:53 AM
Join Date: Sep 2013
Location: New Hampshire
Posts: 429
Likes: 0
Received 0 Likes
on
0 Posts
#401
07-29-2014, 06:50 PM
Logistics Pro


That's what I did, for rustproofing. I used a gallon and sprayed it in, with a drywall texture gun on the entire floor and back wall. Took me 4 hours of non stop prepping.


#403
07-29-2014, 07:03 PM
Posting Legend
#404
07-29-2014, 07:26 PM
Join Date: Sep 2013
Location: New Hampshire
Posts: 429
Likes: 0
Received 0 Likes
on
0 Posts
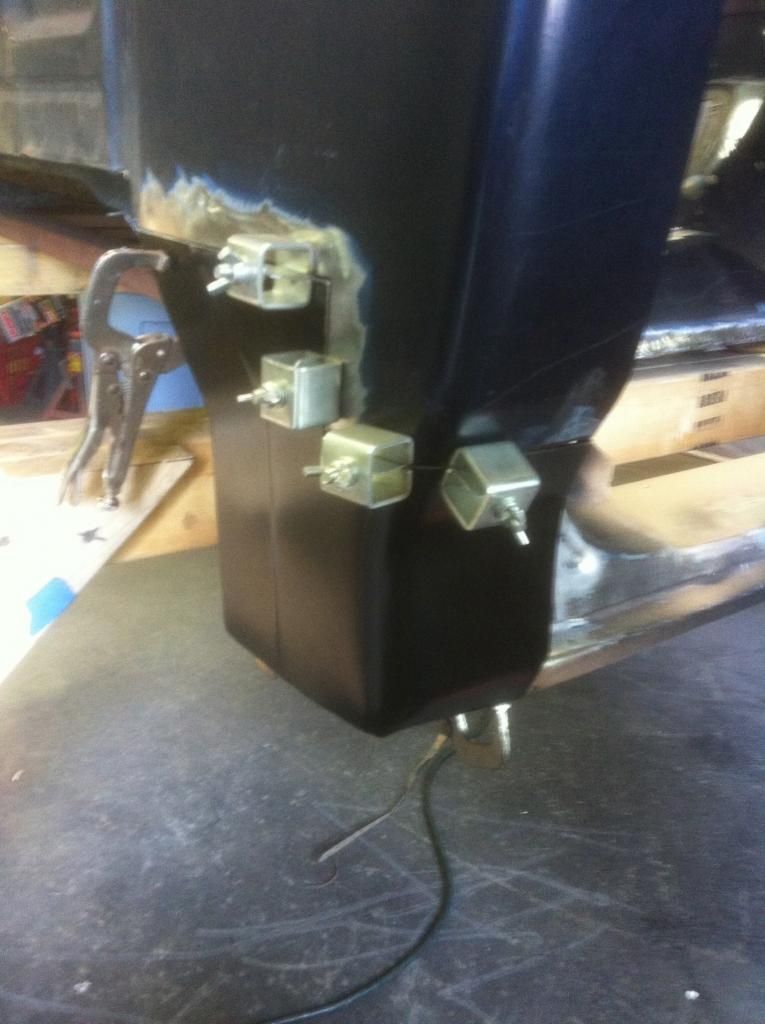
I picked the clamps up at Harbor Freight, 6$ for a set of 4. Good price and they work very well, they make life a lot easier.
#405
07-29-2014, 07:32 PM
Logistics Pro
I personally would do both. I changed my mind about using herculiner on my bed so I had 1.25 gallons of it. I used a gallon on the inside for rust proofing and the quart on my rear wheel well's. I personally would do both. I need to put some good insulation in there now. As well as some carpet.

