When you click on links to various merchants on this site and make a purchase, this can result in this site earning a commission. Affiliate programs and affiliations include, but are not limited to, the eBay Partner Network.
Well, here I am again, this will be a short one, so lets get to it: first of all, this should work not only for our trucks but for a lot of drum brake equipped vehicles, so that's that, in my case, I worked of course on my 93 Bronco, which is equipped with a Dana 44 rear axle (yes it is). In my case I only replaced the shoes, but short of the cylinder I could have replaced any part of my rear brakes following this procedure.
Tools I used:
- Lug nut wrench.
- Jack.
- Jack stands.
- Needle nose pliers (I'm sure a Brake Spring Washer Tool like the LIS47400 would do a better job at this).
- A long screwdriver or any tool with the same characteristics (it must be strong enough, something like the LIS46750 Brake Spring Tool, would have probably done a better job).
- a slot screwdriver.
- Paint brush (if you own an air compressor it will work way better than this for cleaning the dust inside the brakes) <-- it has been brought to my attention that you shouldn't in any case make the brake dust airborne, so disregard the compressor and use brake cleaner.
- Drum brake adjusting tool (mine was Lisle LIS50700).
- A rubber mallet or hammer (just in case the drum gets stubborn).
- Gloves.
- Protective goggles.
- Protective mask.
Parts required:
All the parts that you can remove to get the new brake shoes in can be replaced, if they don't seem in good shape replace them, in my case I just used these:
- Brake shoes.
- Braking system lubbing grease.
The new shoes for one side, notice the braking material is slightly different on each side so keep that in mind and match whatever you have.
First of all, wear the protective gear, now jack the tire you'll be working on, put the jack stand in place and remove the tire (If this is your first time attempting this I would recommend taking both tires and drums off to be able to work on one side and have the other as reference if needed, a good tip from Sidewinder 4.9). Once the tires are off, you should be able to pull the drums out, if they don't come out easily, tap on their edges with the mallet or hammer until they do. Once the drums are out you need to inspect them, I would recommend having them turned always to ensure a proper shoe/drum wear, but it's up to you. Also keep in mind that beyond certain thickness the drums will require to be replaced. Clean everything as good as you can before starting to work. Once the drums are off, avoid stepping on the brake pedal, just a warning so you don't have to wrestle the cylinder arms back in.
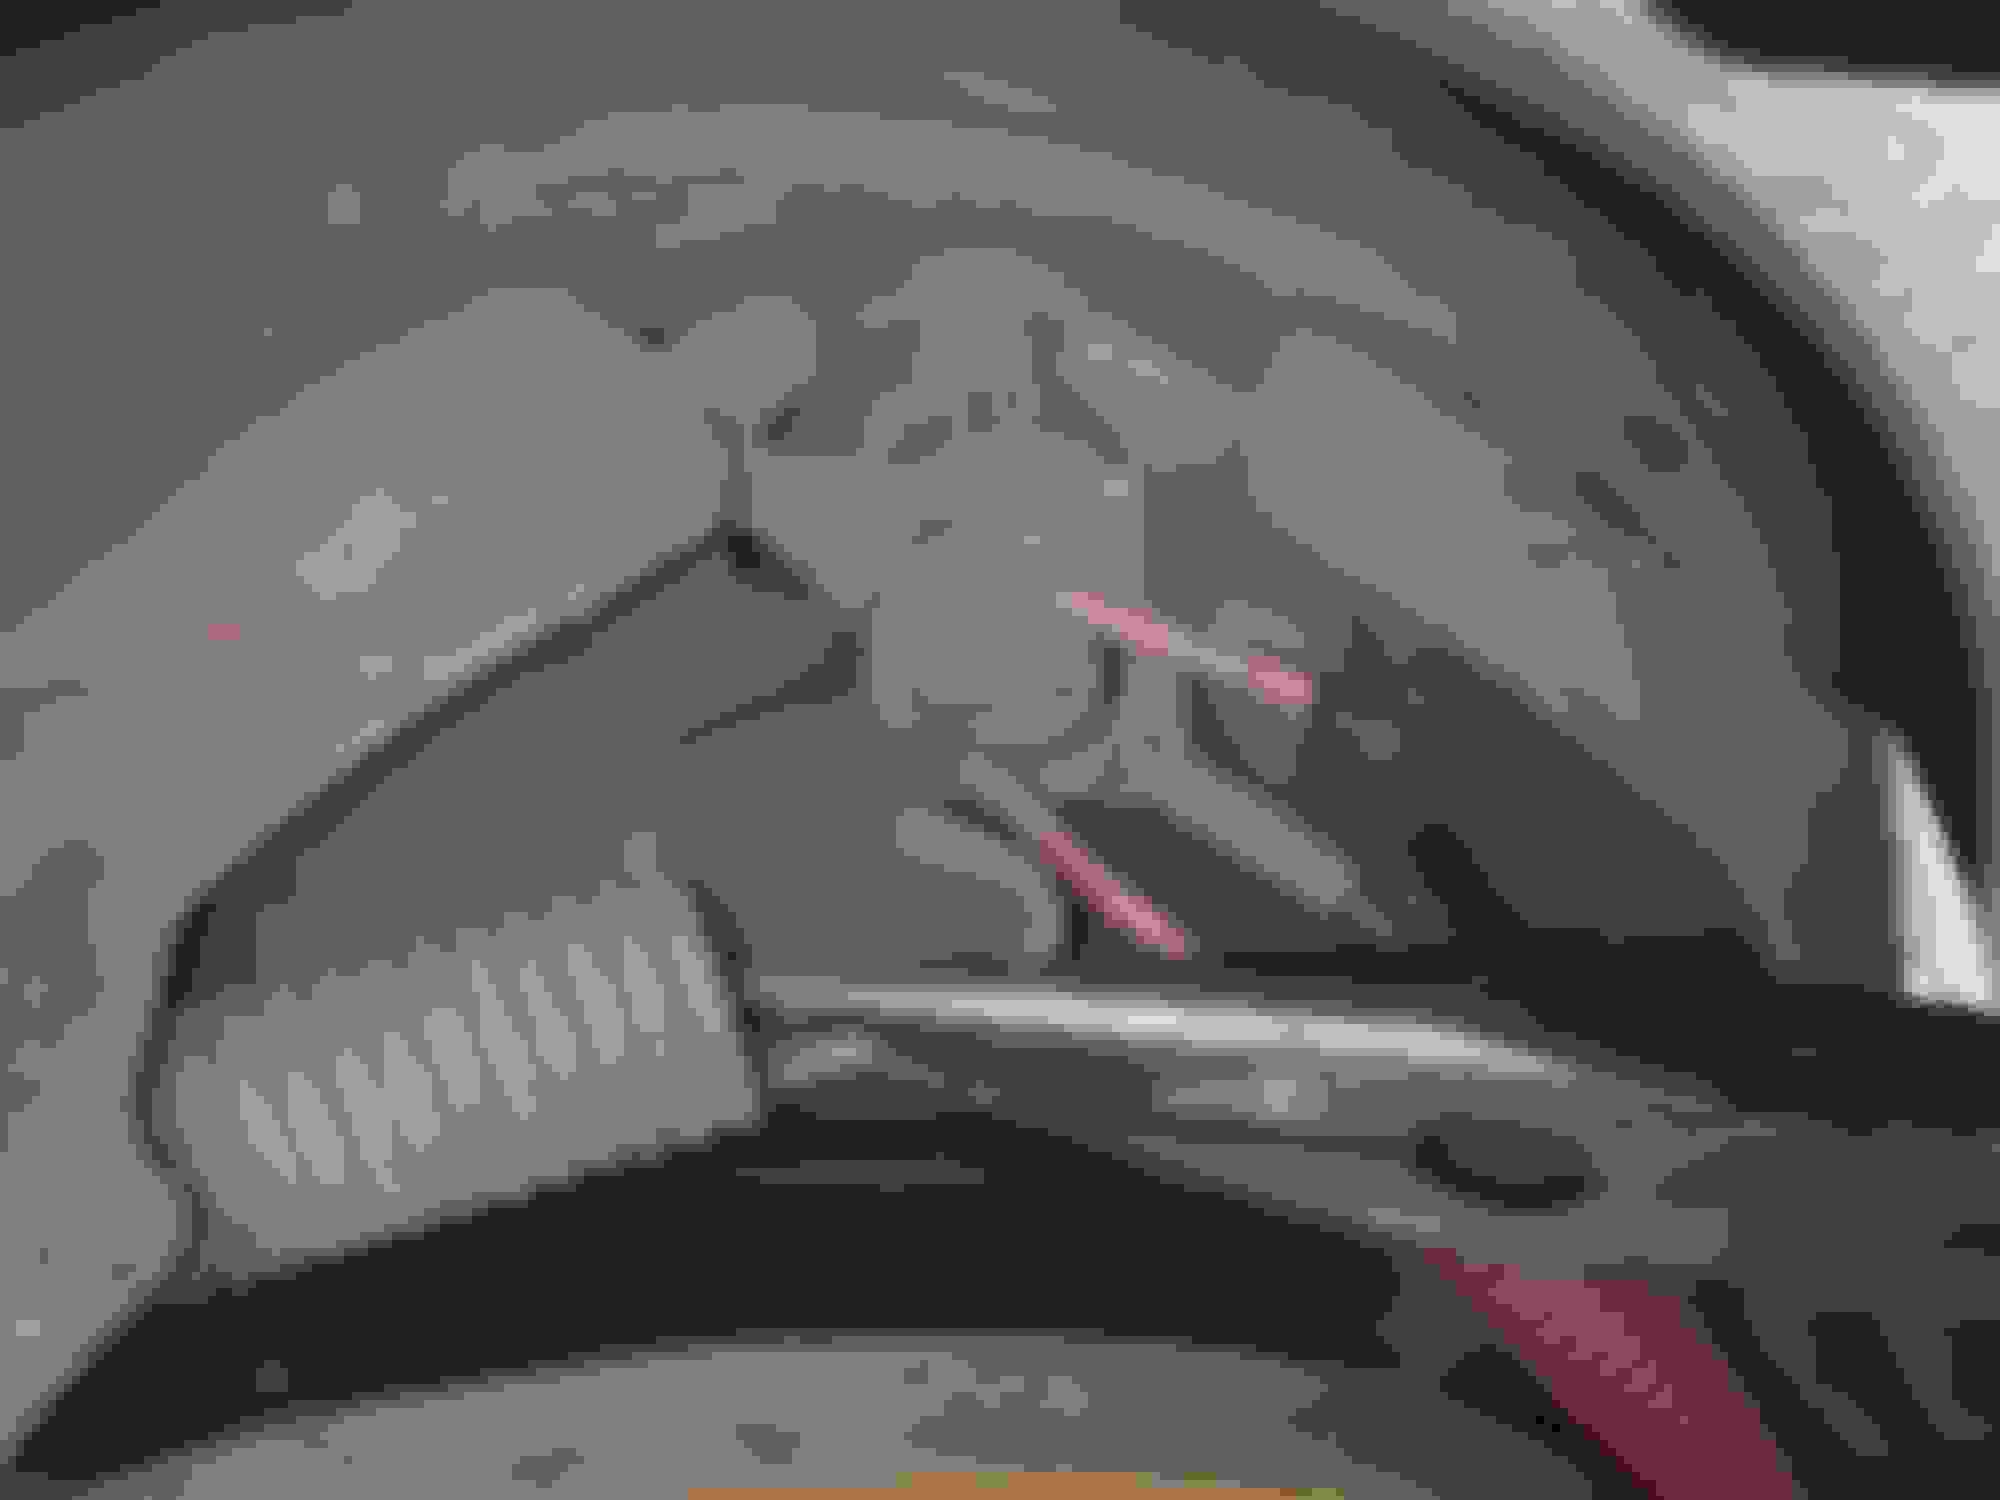
To get the brake shoes out I used the pliers like shown. Without grabbing the nail, push the spring back and use your other hand on the back, in the nail's head to rotate it until its aligned with the washer's slot and releases both the washer and the spring. Do this on both shoes and save every washer, spring and nail.
Now with a little more freedom of movement you should be able to take the auto adjuster out. If you plan to reuse it remember to clean/lube it.
Take the parking brake equalizer out.
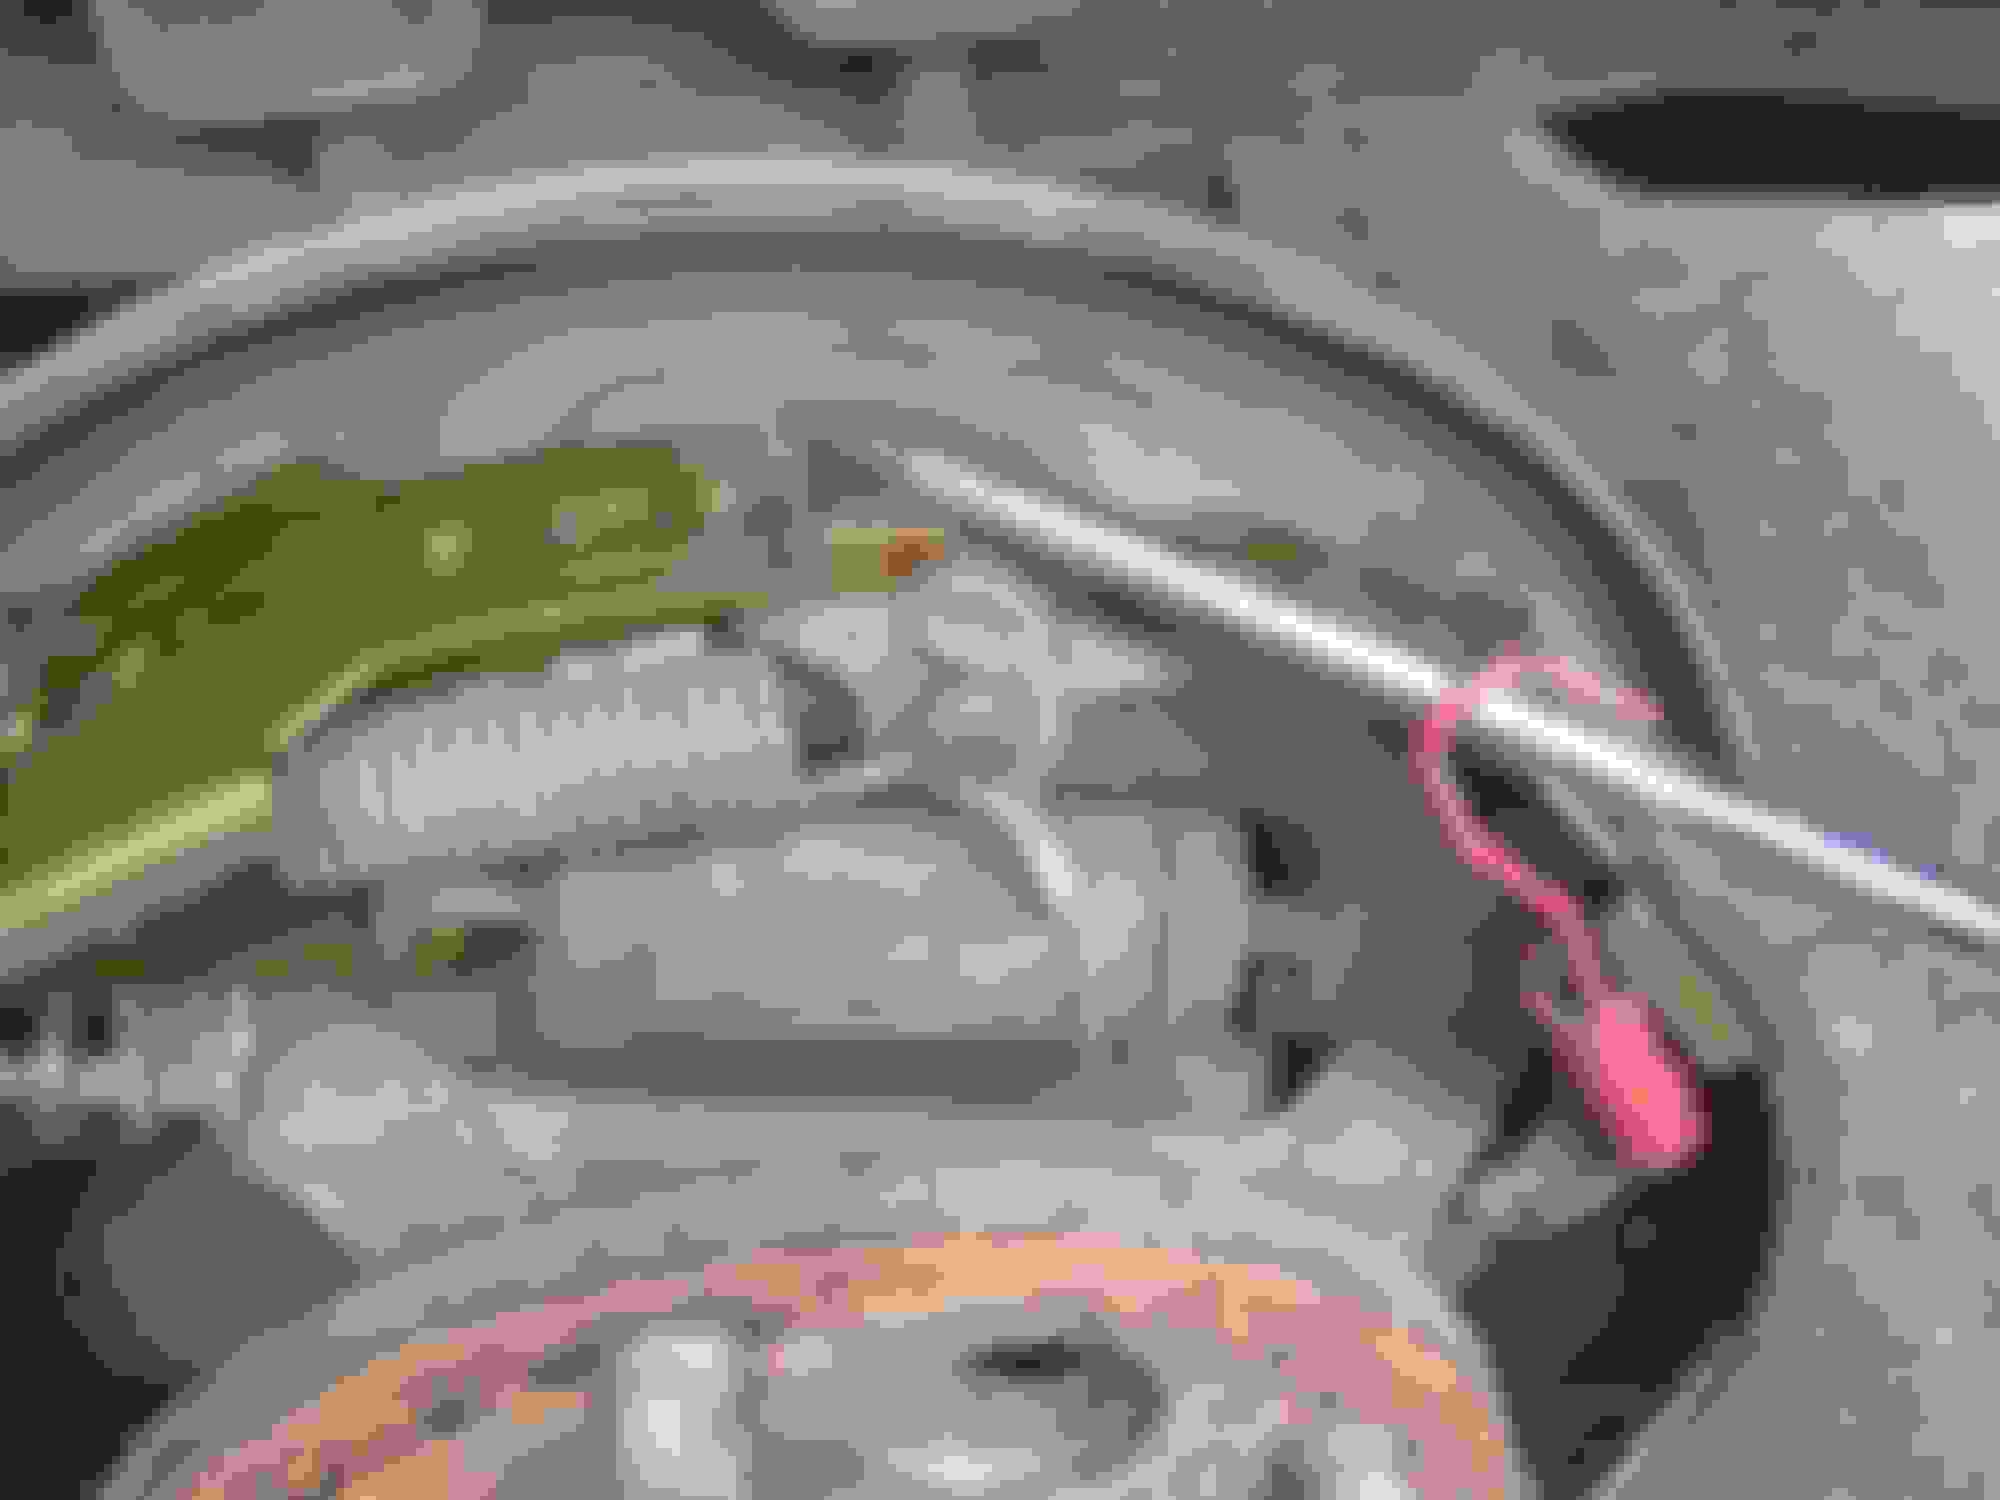
Now you're ready to start releasing springs, this is the first one I released, it grabs one shoe and the adjustment plate (along with the steel wire). The fluid mess was differential oil from a bad axle seal, this got corrected. Notice how the crown of the auto adjuster is set against the plate, it should be set like this on both sides or the auto adjustment won't work.
Release the upper springs and the brakes shoes should be almost free.
There is a small shiny u-shaped clip to the top left, it links the parking brake plate to the shoe, release it using the slot screwdriver and pliers. Then the steel wire and the horned washer in the middle. Now you should be ready to take the brake shoes out.
Once you reached this point, replace any hardware you want to replace, take the new shoes and start assembling everything back. First install the parking brake plate in the corresponding shoe using the u-clip, then get the spring washers on both shoes, this will help holding them in place. Then install the springs back, I found that installing the upper ones before was easier, because they gave the greater resistance, before putting those back, remember to install the equalizer plate and spring, then horned washer and the steel wire, just leave the wire hanging out of the way. (It can be a pain keeping everything properly assembled while installing the spring, so keep and eye on all the parts while you do it).
I used the long screwdriver as a lever to get the springs back in place, be careful while doing this, work steadily and fast. I stretched the spring then used my other hand to slide it in place. This was by far the worst part of the entire procedure.
Once the upper springs are installed, set the auto adjuster and the auto adjustment plate in the shoe and install the lower spring, I used the pliers to pull and hook the spring on the plate. Once you do this, carefully route the steel wire. Take the side with the hook as close as you can to its hole in the adjustment plate, then use the pliers to pull the spring until you're able to hook the wire, that should be it, one side is done, now repeat on the other side...
Install the drums back, if by any chance they won't go back in, turn the auto adjuster until they do. With the drums in place, use the drum brake adjustment tool to adjust them (insert it in the hole in the rear of the whole thing and into the auto adjuster's crown, moving the tool from the bottom to the top will tighten the shoes against the drums), just get them to the point were you start feeling resistance, then back up some. Mount your tires back and that will be all, the brakes are done. Older trucks will have parking brake adjusters, they will be where the two parking brake wires join into one.
The new brakes won't perform very well at the beginning since the braking material is new, so beware when driving. After a couple of weeks, check the adjustment of the brakes and make any corrections required, anyway, using the parking brake and "R" should help if the auto adjusters are working properly.
Well, there you are, that's the way to work on your rear drum brakes.
Well, it's complete guys, as always, there probably will be some minor corrections but this is pretty much it... My sig is running out of space for write-ups, I think I will be forced to put them all on the same line (a m�x of 6 lines is the signature limit). Anyway, II hope you guys get good use from this (I know I did, this was my first time doing rear brakes), enjoy! .
HAHAHAHAAH Please PLEASE don't correct that, every time i read it it sounds hilarious.
Anyways, great write up, i plan to find and use this when i do mine in the future. My brakes are worn badly, and soon i will pull my rear drum off and see what it looks like. I think i might need more than googles (;]) to clean them though due to it's age and the possibility of asbestos dust... I do have a can of brake parts cleaner though so i should be good.
I don't see the joke... do a search for "protective googles" images. And yes, you will need more protection, asbestos dust mostly hurt the lungs, so get a N95 mask.
Props for making me search up "protective googles"... Ya i planned on getting a mask or 2 when i do mine but as it sits, that may not be for a while. I have other stuff in front. Stuff that are in worse condition.
I don't see the joke... do a search for "protective googles" images. And yes, you will need more protection, asbestos dust mostly hurt the lungs, so get a N95 mask.
It's GOGGLES.....ROFL.....
Anyways...great write-up!
As for the brake adjustment....Adjust them, so that the drum BARELY clears.....JUST enough, it isn't dragging/not going on...
Not sure on the Auto-Adjuster, but I think I read somewhere, that they adjust the brakes, each time you back up....
Great write-up. One suggestion I would offer is that you should never use compressed air to clean brake dust, you should use brake cleaner and/or a rag, to avoid getting all that dust airborne. Even with pads/shoes made in recent years without asbestos (and that is never a guarantee with older vehicles with questionable service history) the dust is still very toxic, you don't want to be breathing this stuff in.
So with the backing up adjustment, do you apply the park brake while moving backwards or apply it before then back up? Mine slightly works but it doesn't hold very well, i am not saying this adjustment will help but it might get it to grab slightly more to be noticeable.
Great write-up. One suggestion I would offer is that you should never use compressed air to clean brake dust, you should use brake cleaner and/or a rag, to avoid getting all that dust airborne. Even with pads/shoes made in recent years without asbestos (and that is never a guarantee with older vehicles with questionable service history) the dust is still very toxic, you don't want to be breathing this stuff in.
The best idea, is simply use a $15 respirator.....
Compressed air, should be used in tools....Not to clean brake dust...
One or the other? What i was asking was if i put the parking brake on and moved the truck backwards would it adjust it? Otherwise i am not quite understanding how it get adjusted.
One or the other? What i was asking was if i put the parking brake on and moved the truck backwards would it adjust it? Otherwise i am not quite understanding how it get adjusted.
NO
Simply turning around in a parking lot will do it....EVERY time that you drive in reverse, your brakes are adjusting themselves...
The parking brake needs to be fully extended regularly to prevent sieze up, breaking of the cables....And the Wheel Cylinders from leaking....

 04-22-2012, 06:43 PM


 .
.


