When you click on links to various merchants on this site and make a purchase, this can result in this site earning a commission. Affiliate programs and affiliations include, but are not limited to, the eBay Partner Network.
I noticed a small crack in my Dashpad this morning, gave it a light tap with my finger and it just caved in to make a nice size hole. My wife has lots of art supplies, even some peel off sticky tape with holes in it that looked close to the same pattern at the speaker grill holes in the dashpad. She colored it to match and stuck it on.
Of course it is far from the original new look but better then the ugly hole I made with my finger this morning.
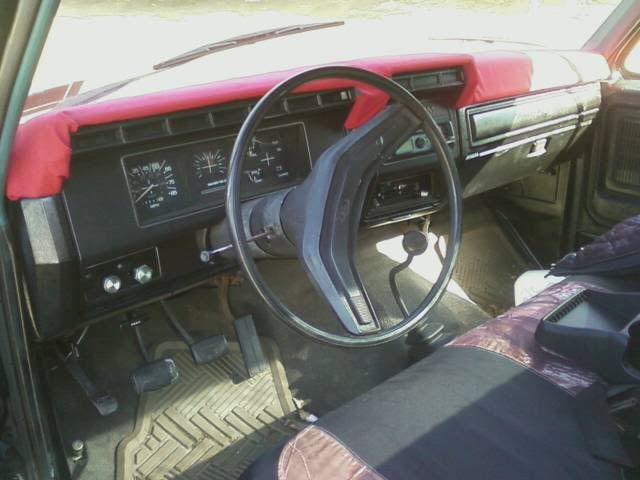
very clever idea, wished I thought of that instead of covering my entire dash in red fabric. My hole is the size of a golf ball and in other areas, looks like the previous owner's wife got drunk and carved her name (looked like amy?) just above the glove box.
wish I had covered it in camo to match the seats, but thats all I could afford
I just finished my dash. Repaired the cracks with foam, stapled fleece on and then a few fiberglass layers. Followed a couple SprayWayCustoms youtube videos. It was a long process but really fun and rewarding.
Ray, Thanks! It was a fun project. I took my time, learning as I went. I am not in a big rush with my truck. There are a million other things I'm doing at the same time. Never had used fiberglass or rondo before. Turned out pretty good. It's a bit wavy, but so is my truck body. So it matches.
I didn't follow his steps exactly. For example, I don't have a DA sander/polisher and I couldn't justify buying one for this project (as much as I wanted to). Also I primed, painted and clear coated it with home depot spray cans, etc..
I have more pictures from my project in between the before and after if you want to see. If you do the job I am happy to help in any way I can! Happy New Year! ~Andrew
Im the new owner of a 85 f150 step side and planning to try my luck at dash repair. Just wondering, what about vinyl wrap as a finish surface? if anyone has tried and failed please let me know. I like problem solving and creating so ill get back to everyone after success or failure. Foam crack filler is where I plan to start.
Last edited by Dennis Tiger; 11-28-2023 at 12:01 PM.
Reason: Update, I bought the plastic cover. After repairing the original I deided to spend my time on other repairs.
 01-17-2012, 06:48 PM